

Curved card TUTORIAL ☆ C.C. Designs
Today I’m sharing with you a tutorial made for C. C. Designs design team. This is an easy card to make and you can use it for different opportunities. The original idea is not mine (you can see it here), I used it to show some CCD products.
What you need:
white cardstock
spring patterned paper
oval die
scalloped oval die
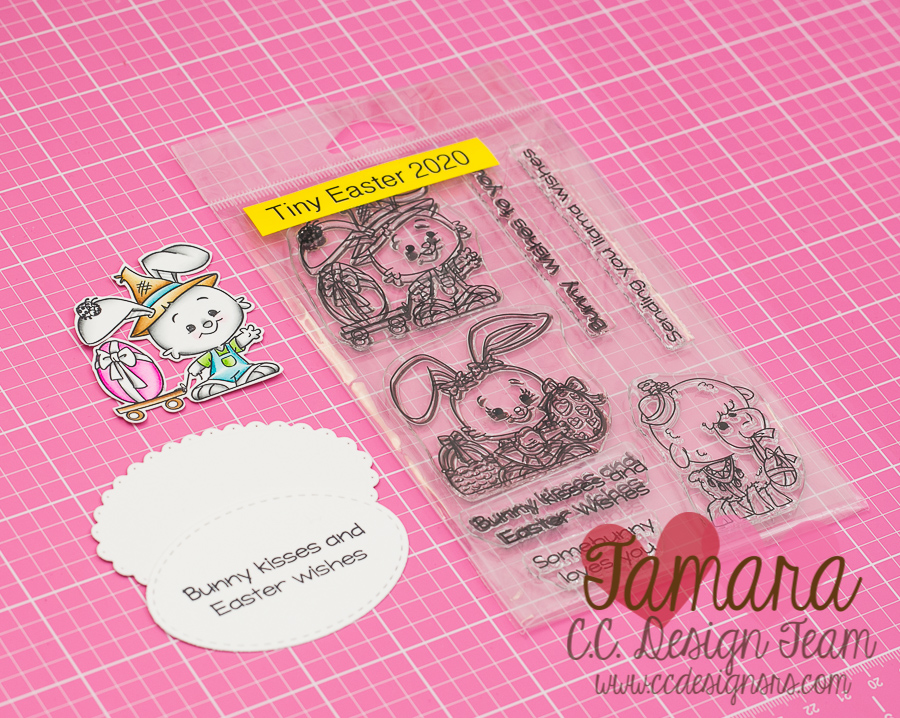
C. C. designs items you need:
Step 1:
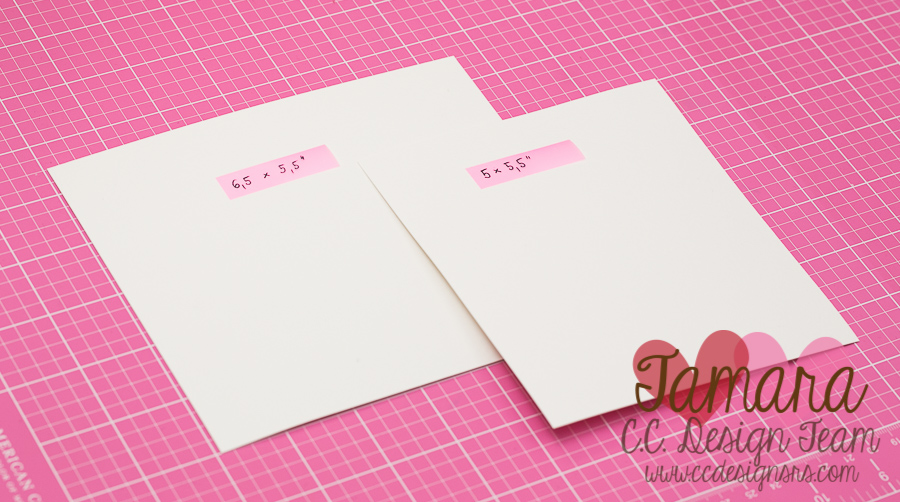
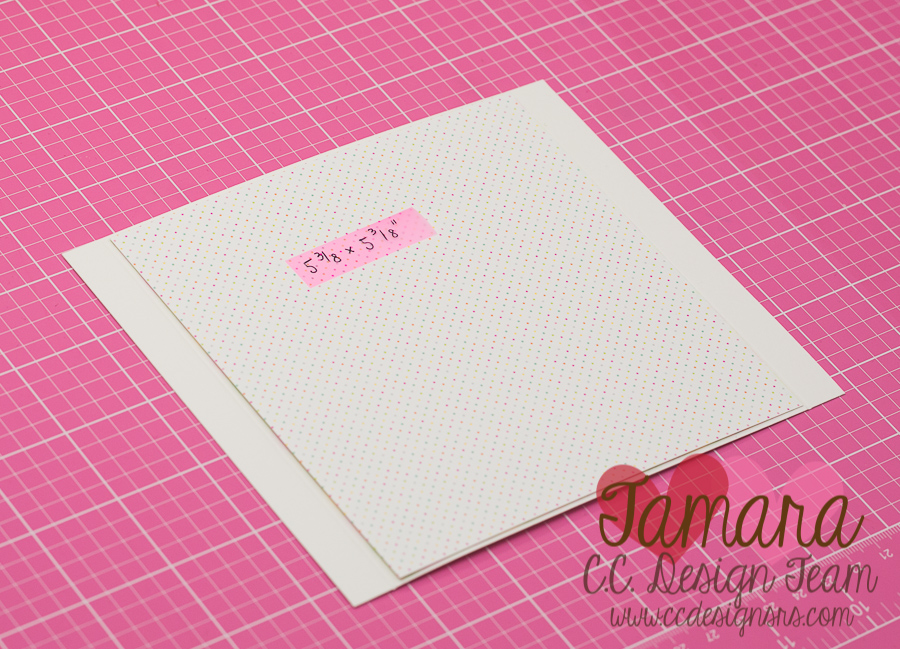
Take white cardstock and cut out 2 rectangles 6.6″ x 5.5″ and 5″ x 5.5″
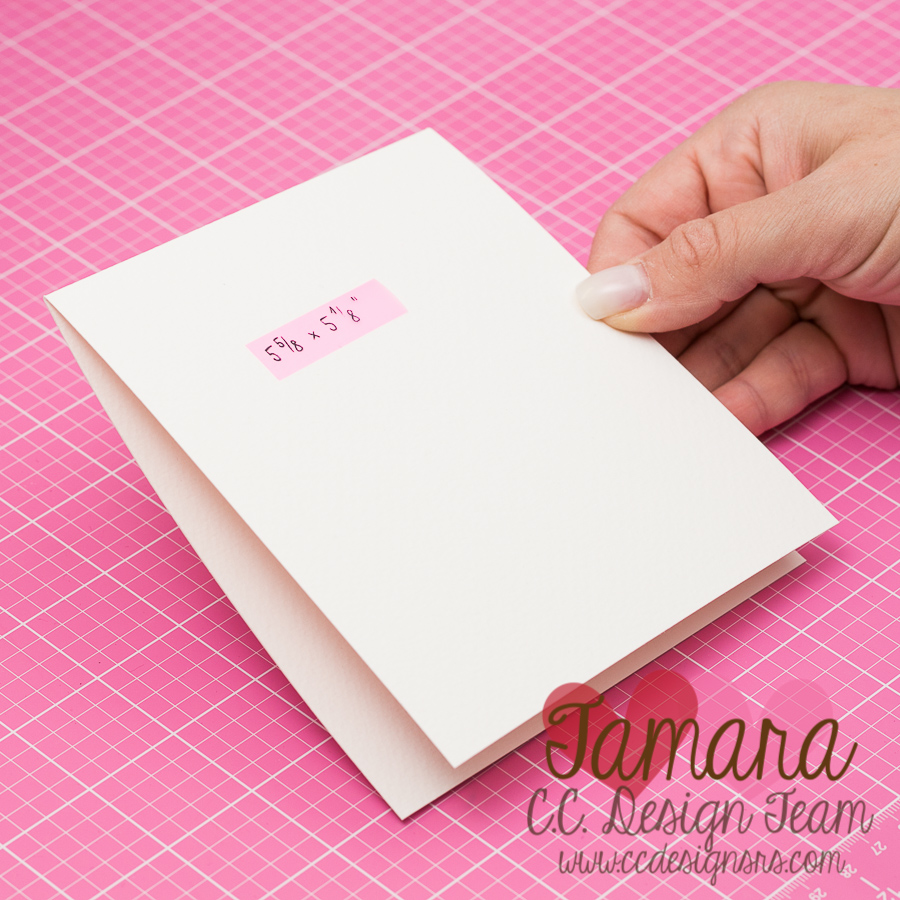
Make a base for card measuring 5 5/8″ x 5 1/8″
Step 2:
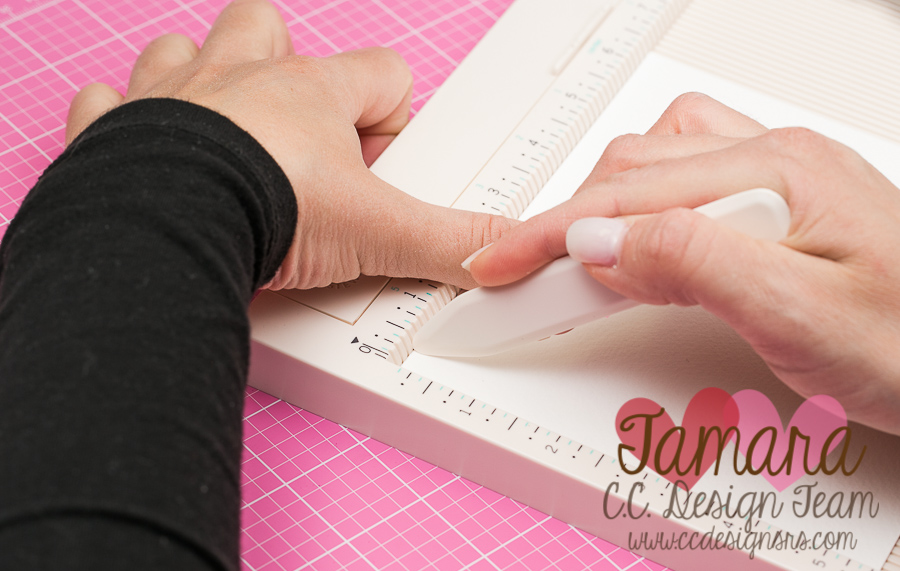
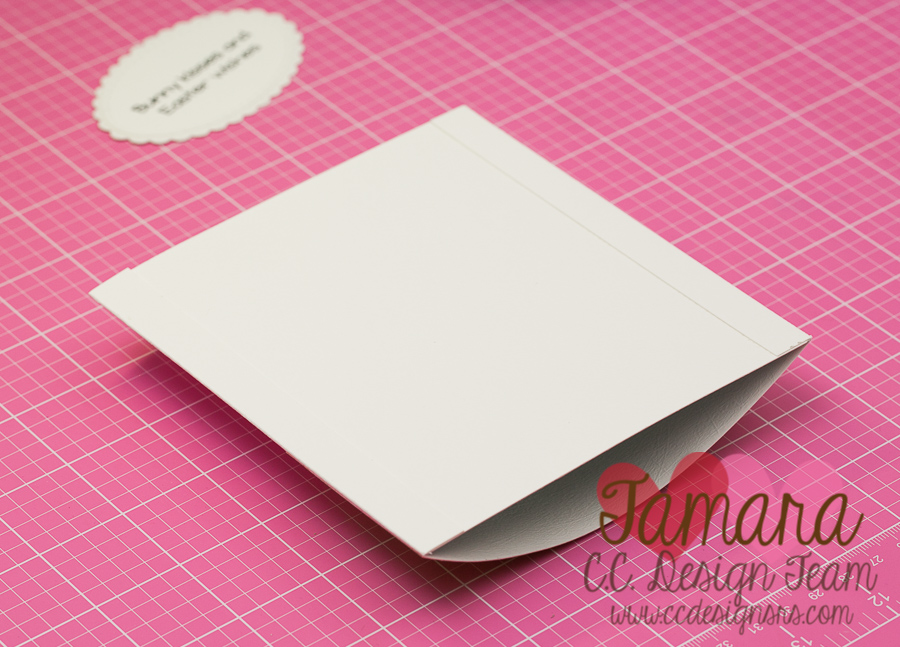
Take 6.5″ x 5.5″rectangle and make two score lines 0.5″ on each side (on the 6.5″ wide)
Step 3:
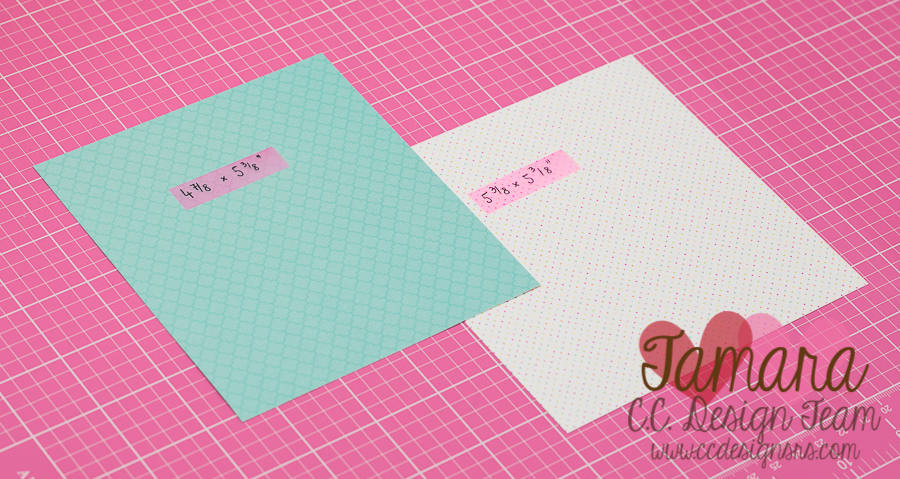
Take your chosed desing paper and cut two rectangles.
Step 4:
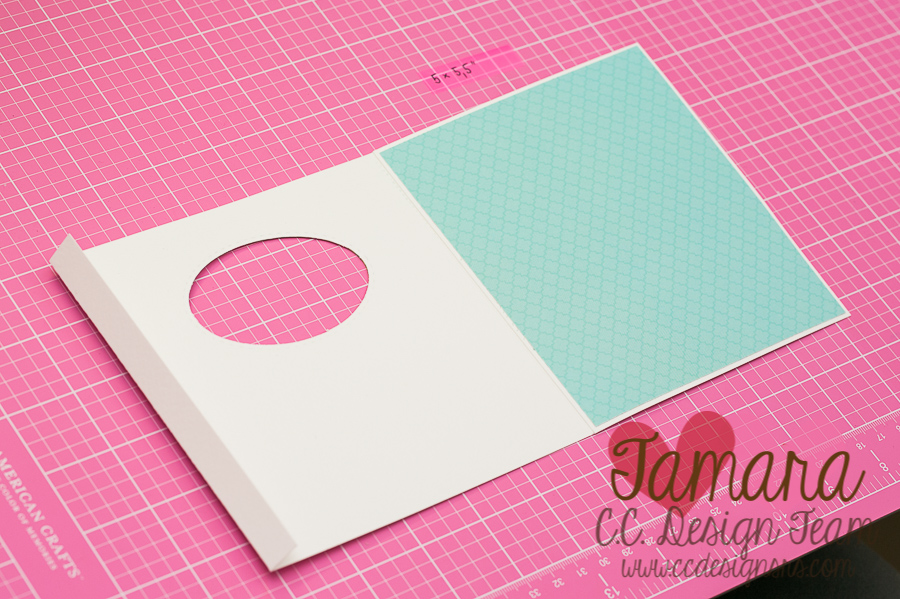
Glue dotted paper on the center part of the scored cardstock. You get two flaps, one on each side. Fold them on the inside.
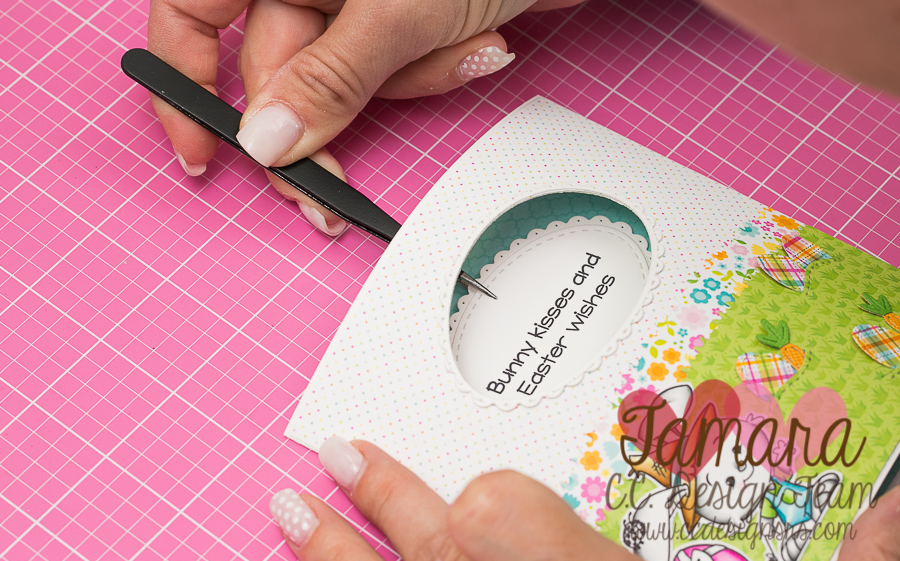
I meassured the center of the card and placed the oval on it. You can just eyeball it, but I usually miss so I need to draw lines. lol
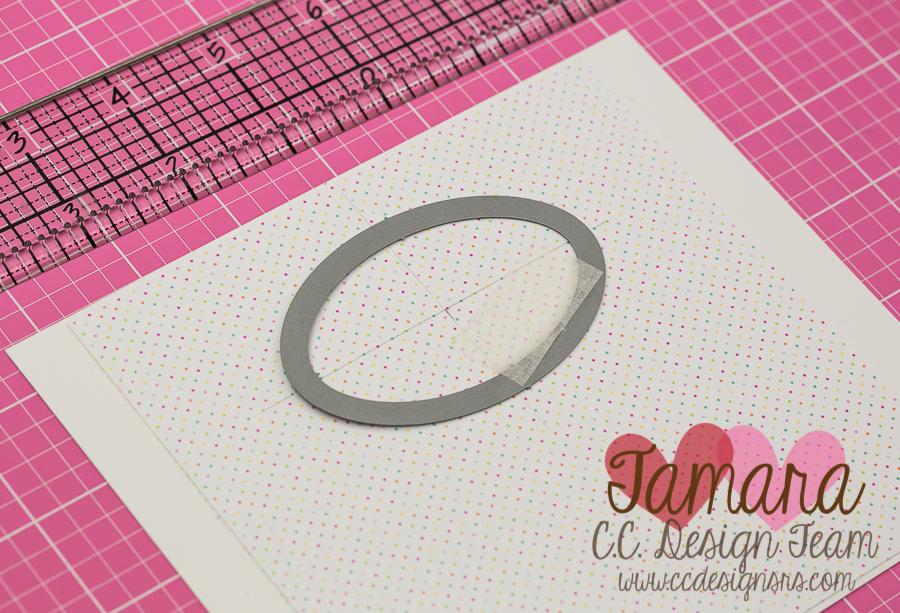
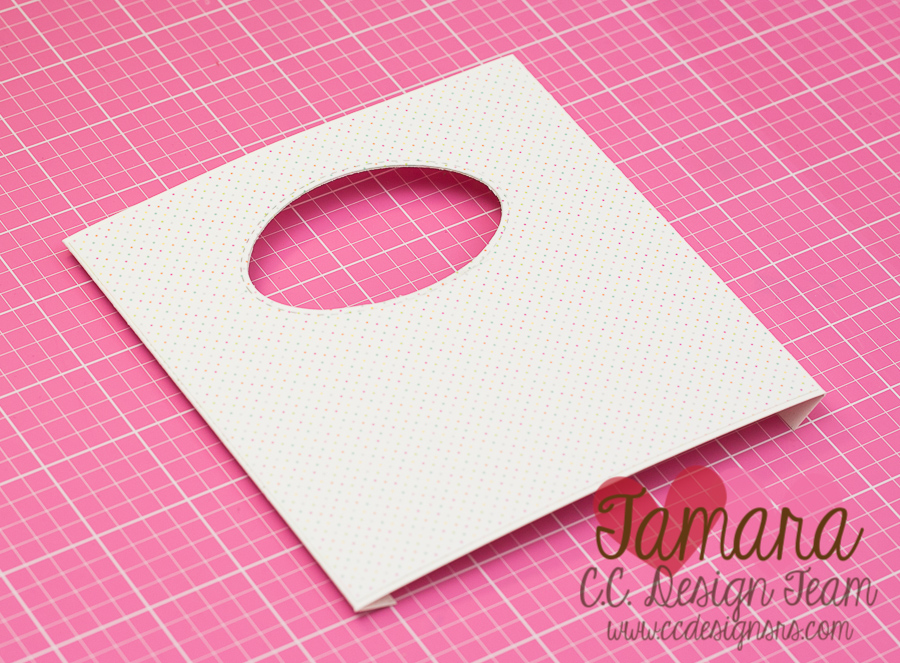
Cut it out and you got a window for the sentiment.
Step 5:
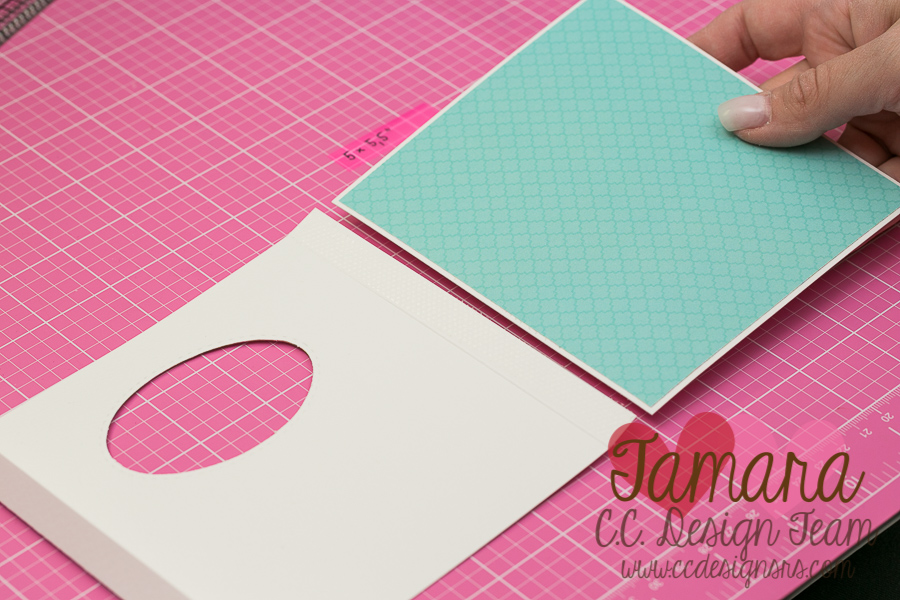
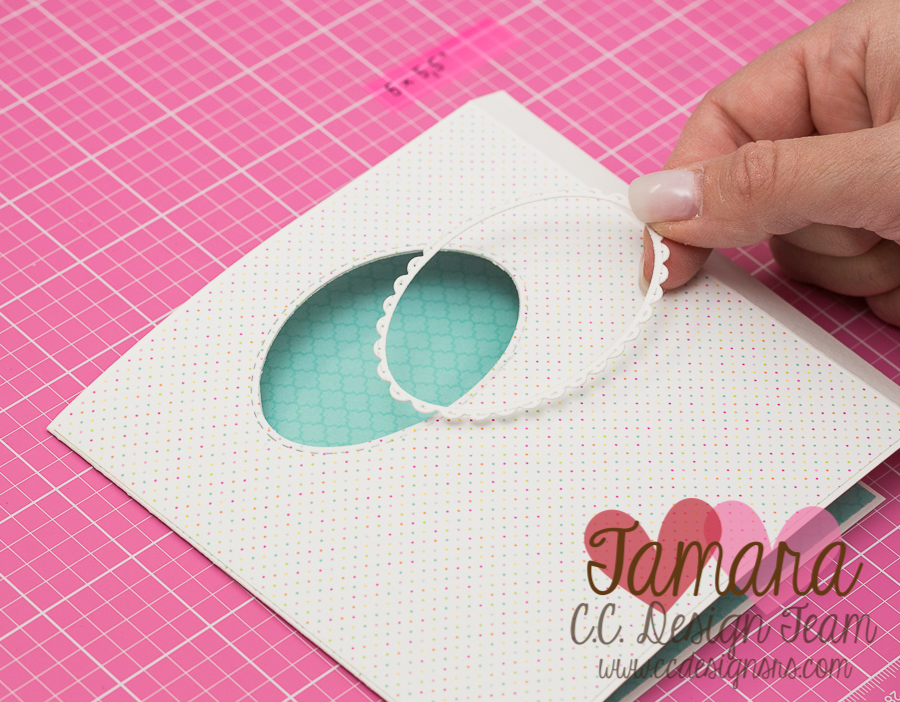
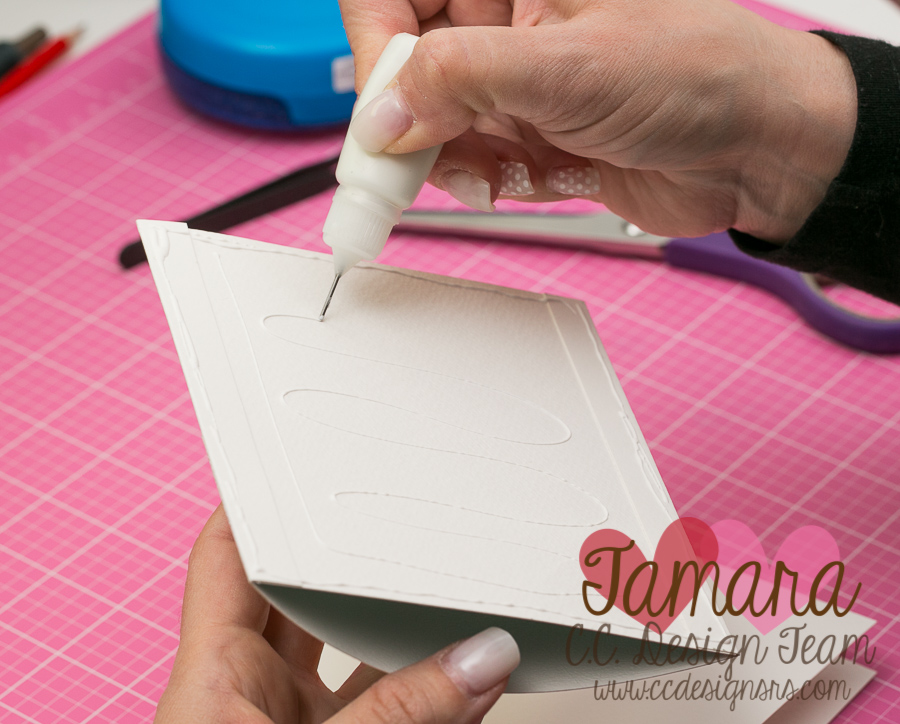
Mat the blue rectangle with the 1/8″ bigger white rectangle. Glue them together. Turn around the window part and glue the blue rectangle on one of the flaps. If you look through the window you see blue paper. Don’t glue the other flap yet.
Decorate the front oval. No need to do it if you don’t have the scalloped oval die.
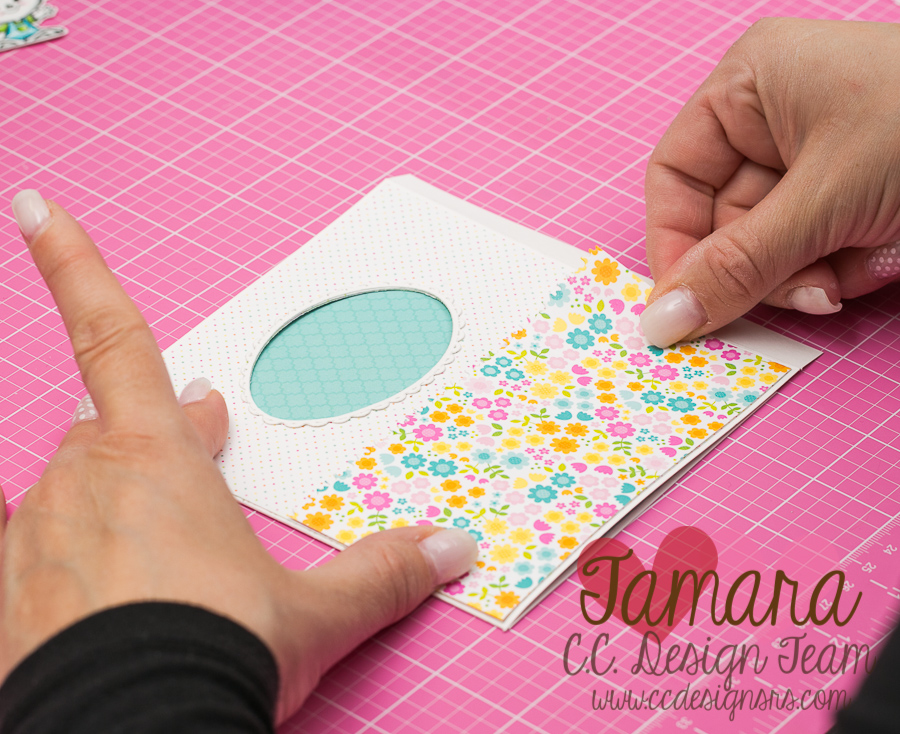
Step 6:
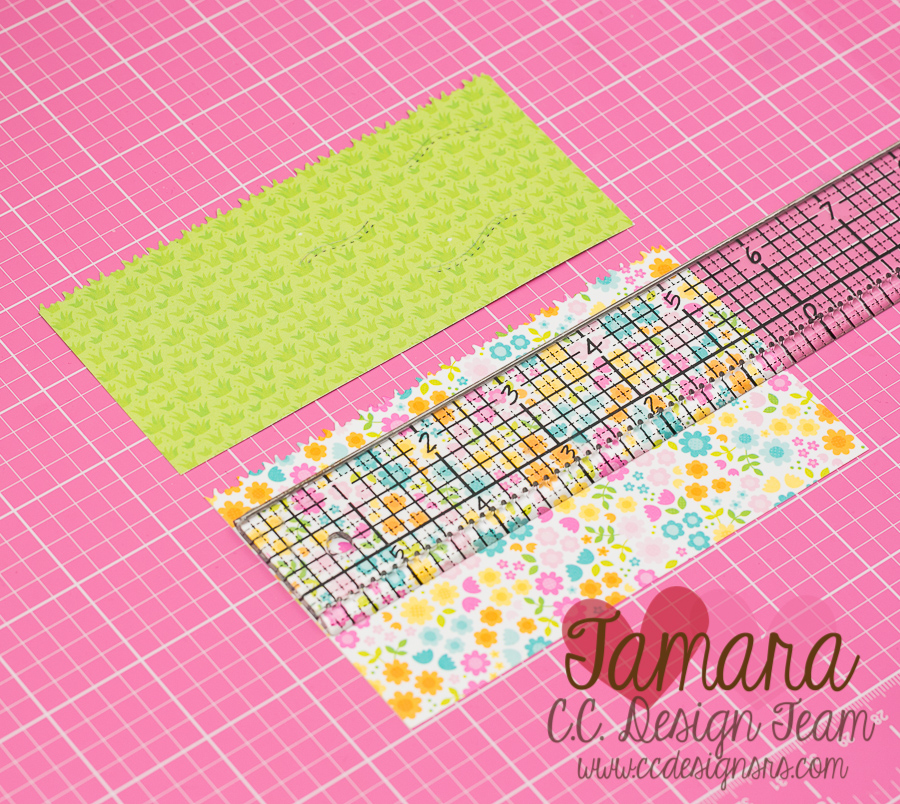
Cut 2 pieces of design paper (5.5″ wide). You’ll use one for grass and one for the flowery border.
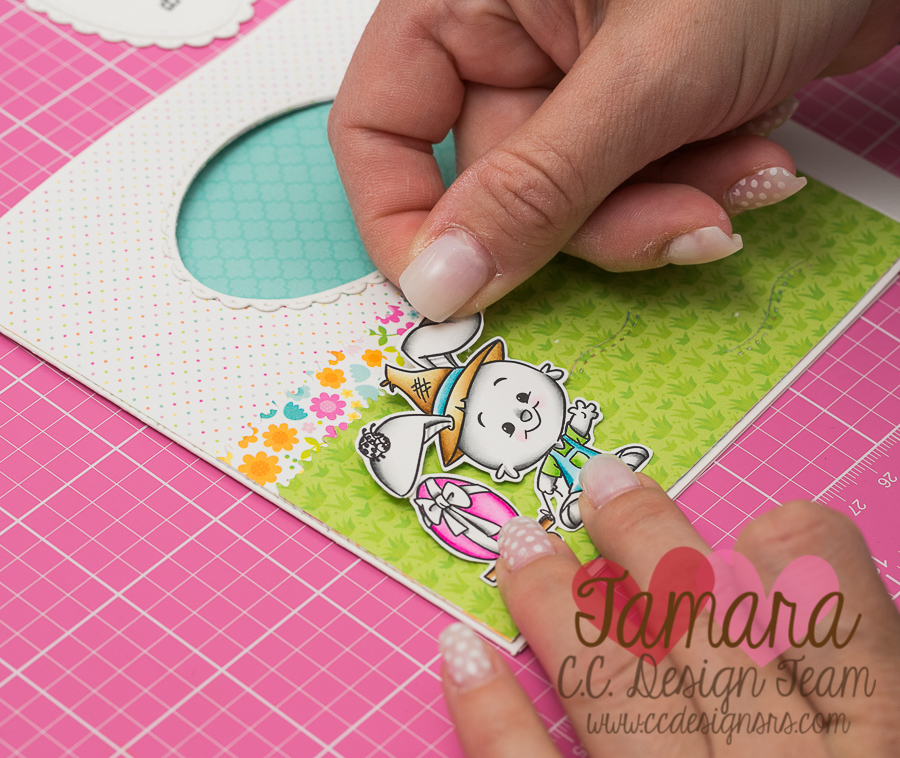
Step 7:
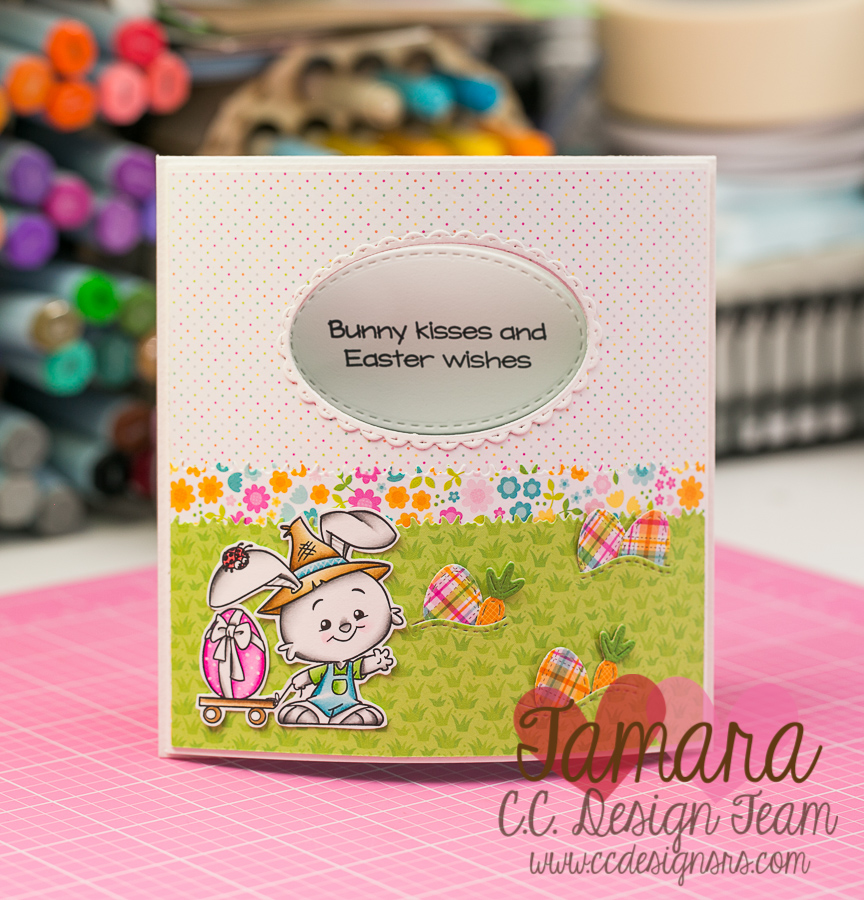
Stamp and colour your chosen image and stamp and cut out your chosen sentiment.
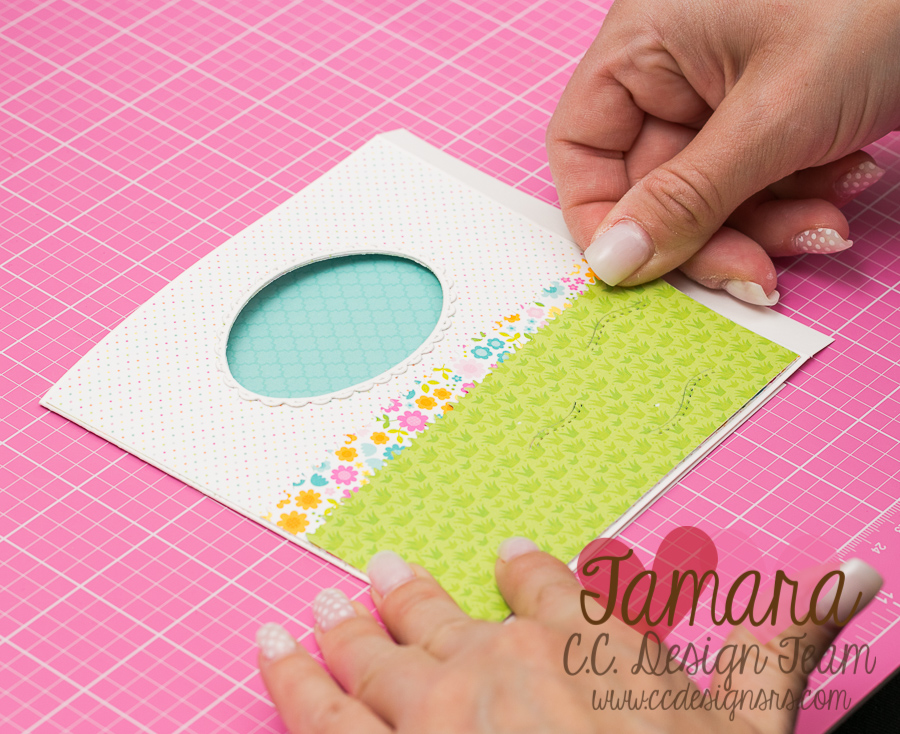
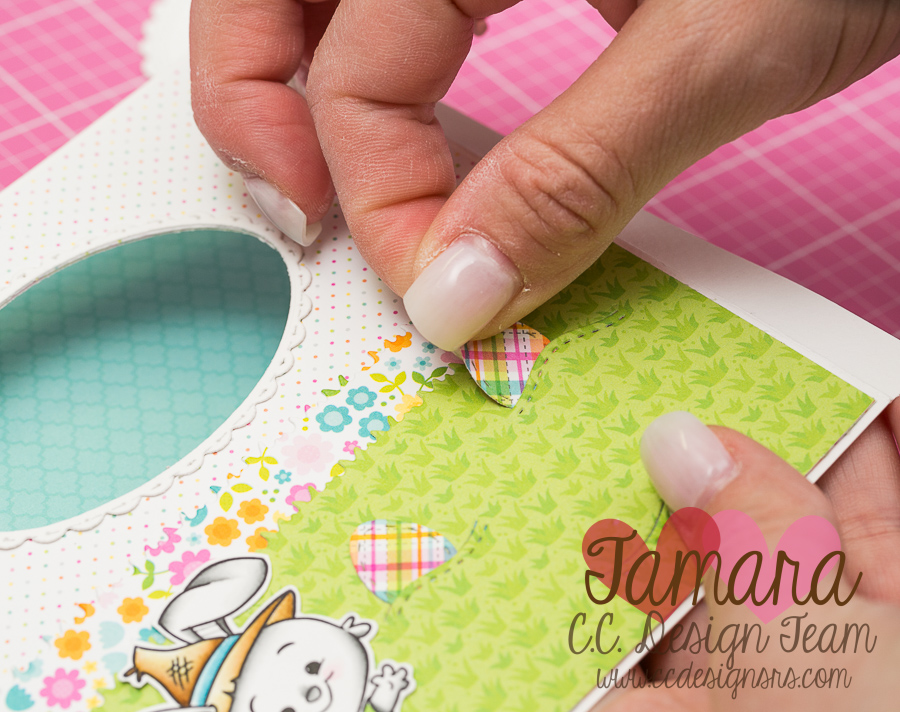
Step 8:
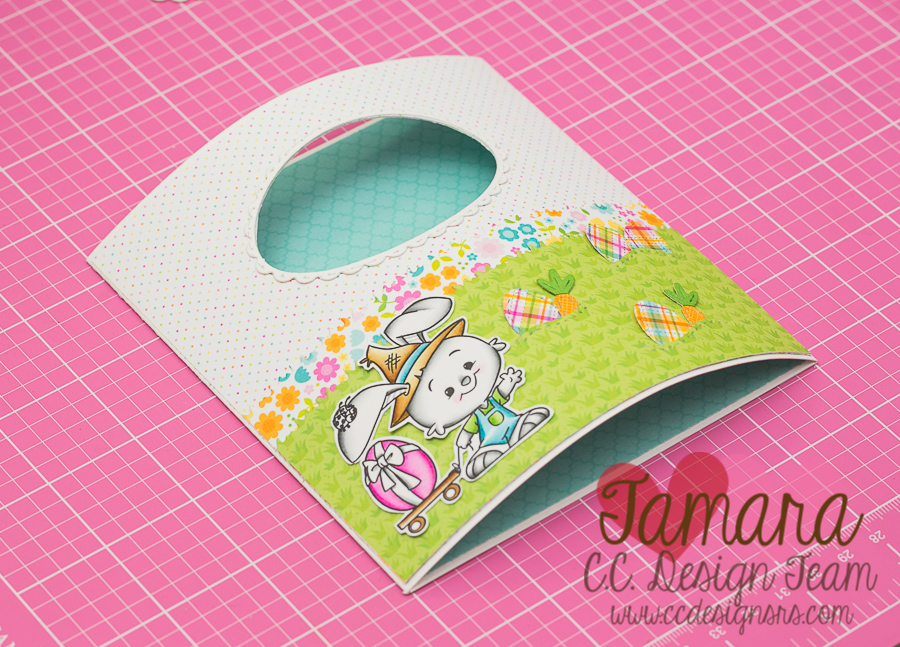
Glue down flowery background and then grass, bunny …
Step 9:
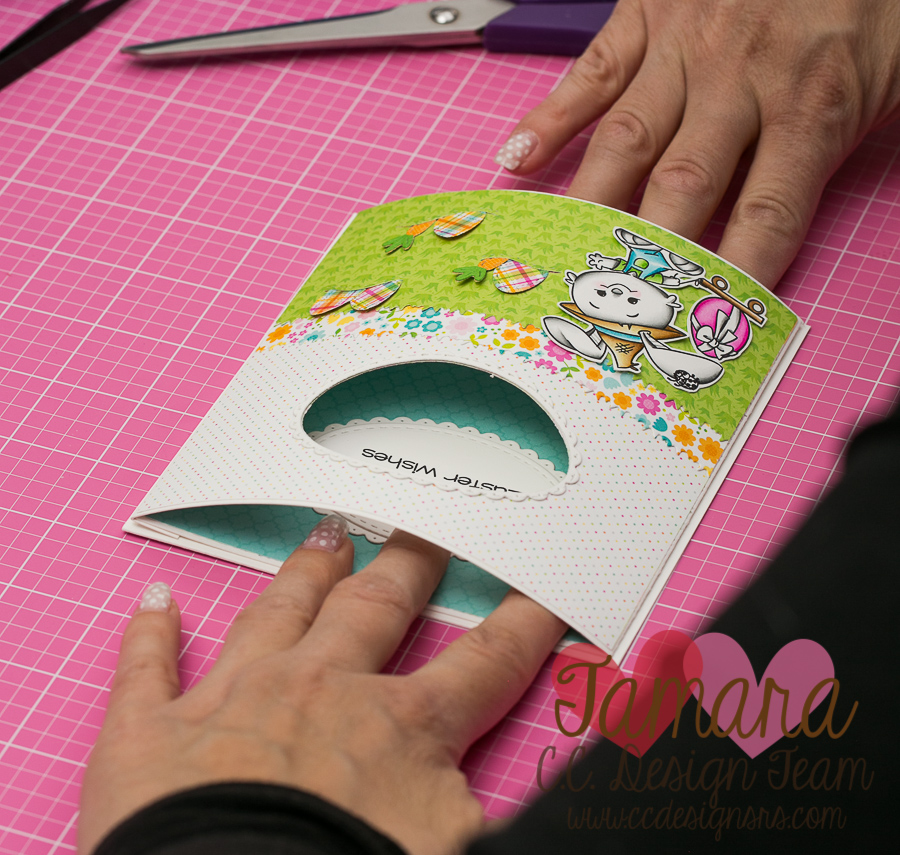
Once the front is done, you need to glue down the other flap. You get a nice curve.
Step 10:
Add the sentiment . Make sure it’s in the middle of the window.
Step 11:
Glue the curved card part to the base.
That’s it from me.
Hugs, t.