

Tutorial Thursday – Mini album with flip pages
Hi!
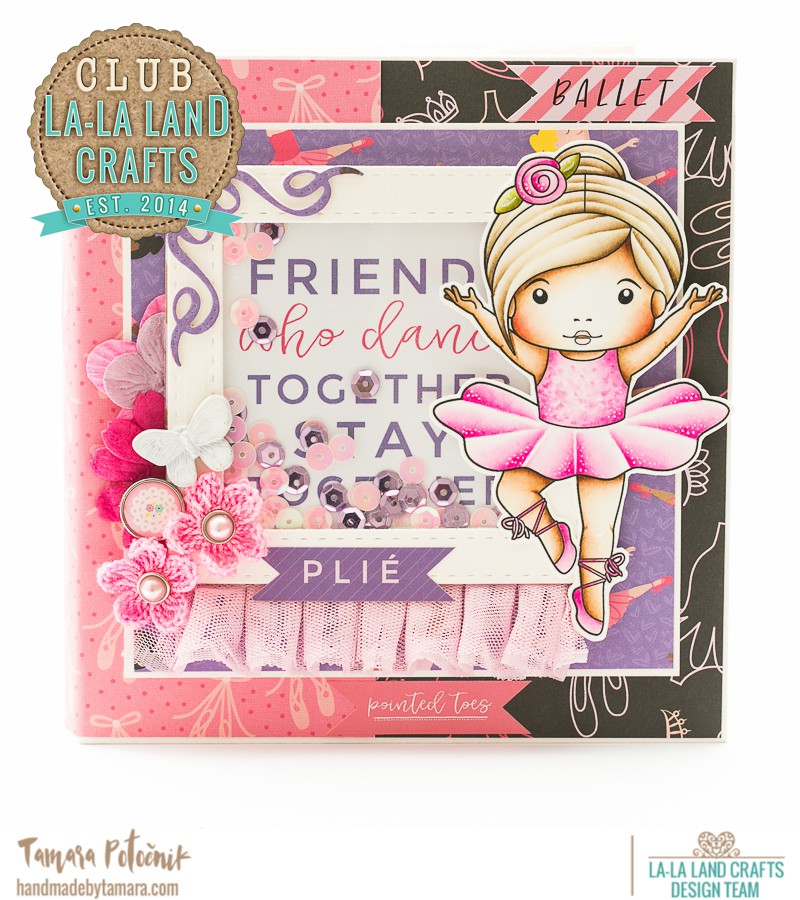
As some of you may remember I made a mini Ballerina album with the latest club kit. Today I’ll show you how to make that album. I only used the latest club kit dies and stamps to decorate it, but you can use different lala land items to decorate it.
What you need:
white cardstock
design paper
scissors
scoring board
paper trimmer
double sided adhesive
liquid adhesive
enamel dots
3d foam pads
white cardstock
design paper
scissors
scoring board
paper trimmer
double sided adhesive
liquid adhesive
enamel dots
3d foam pads
sequins
different embelishments
la-la land crafts items you need:
Club kit March
Step 1:
Take white cardstock and cut these rectangles:
14 1/4″ x 8 1/4″
5 5/8″ x 6″ (4 pieces)
3/8″ x 6″ (2 pieces)
Step 2:
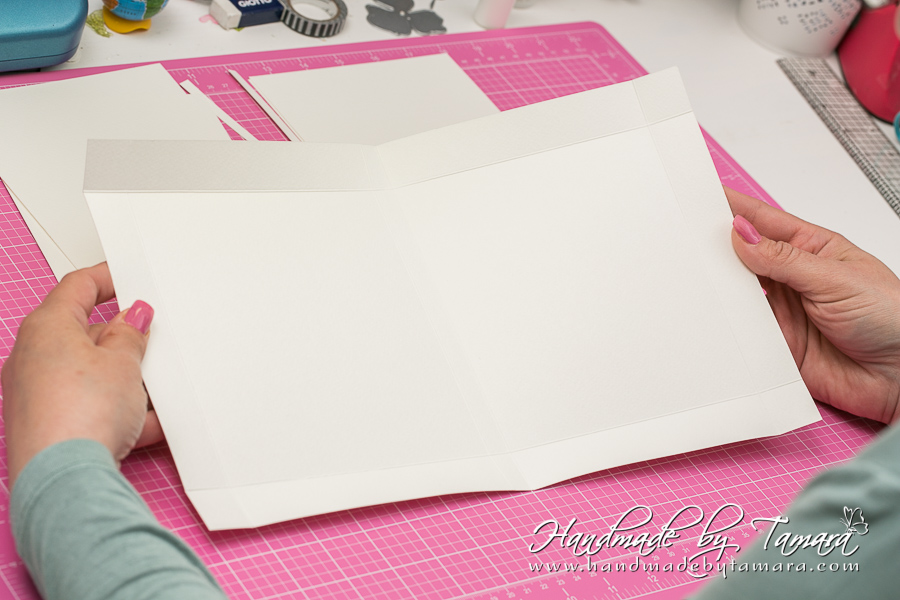
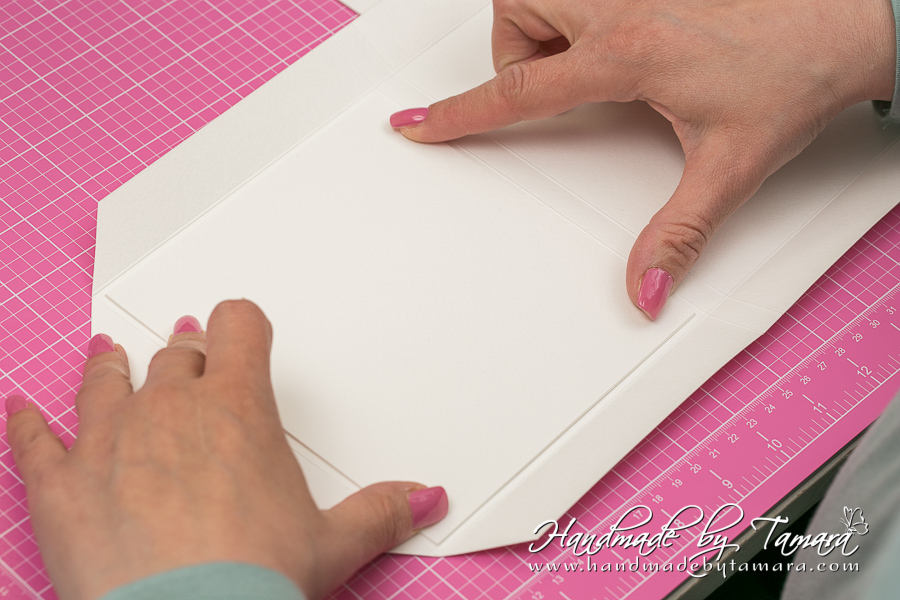
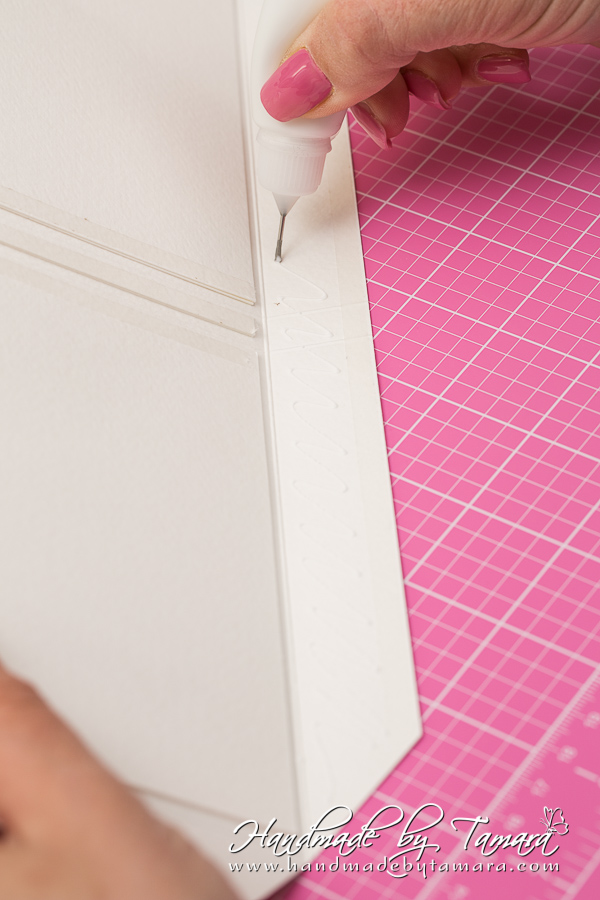
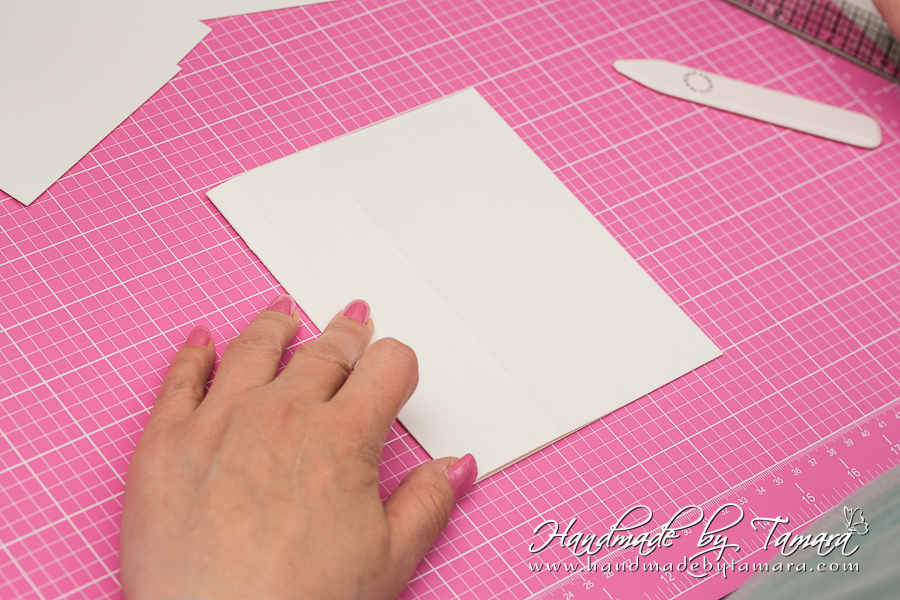
Take the biggest rectangle and make a score line 1″ from all for sides. When you have these, make another 2 score lines both 6 7/8″ from the side (from the right and left). You can see the folds on the picture. Then make folds.
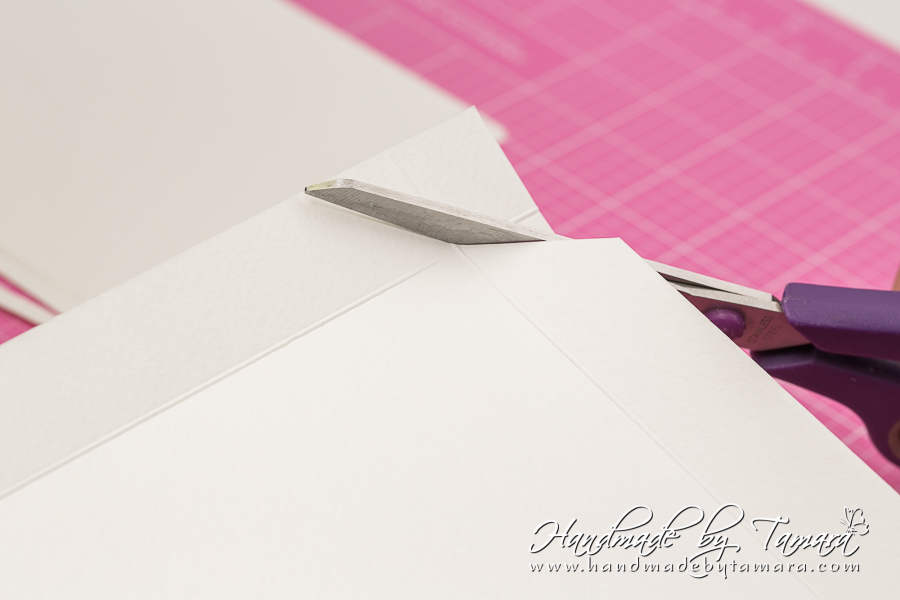
Cut out the corners.
Step 3:
Take 5 5/8″ x 6″ (4 pieces) and 3/8″ x 6″ (2 pieces) and adhere two together, so you get three pieces, two 5 5/8″ x 6″ and one 3/8″ x 6″.
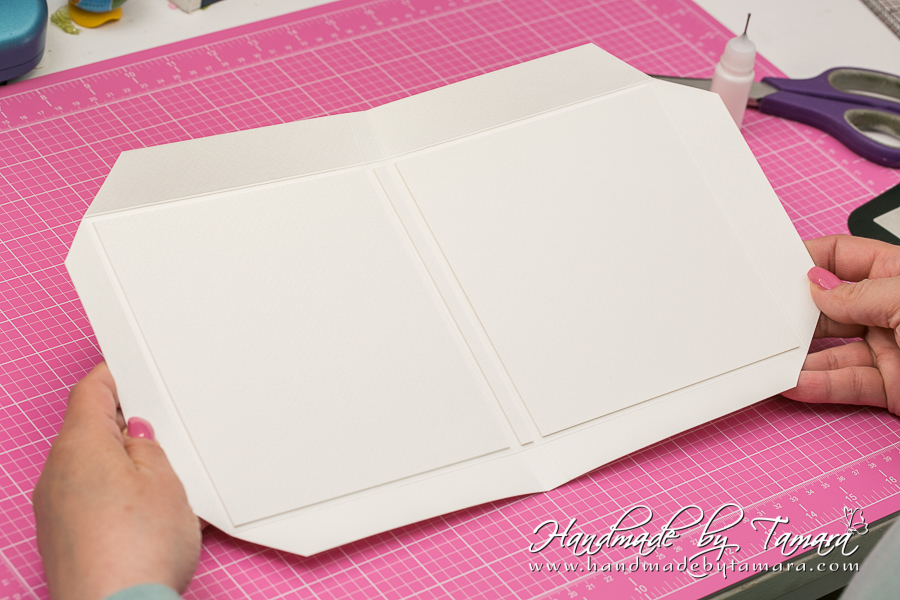
Adhere the two larger ones on the left and right of our cover piece and then the thin one in the middle. Now you can close the flaps.
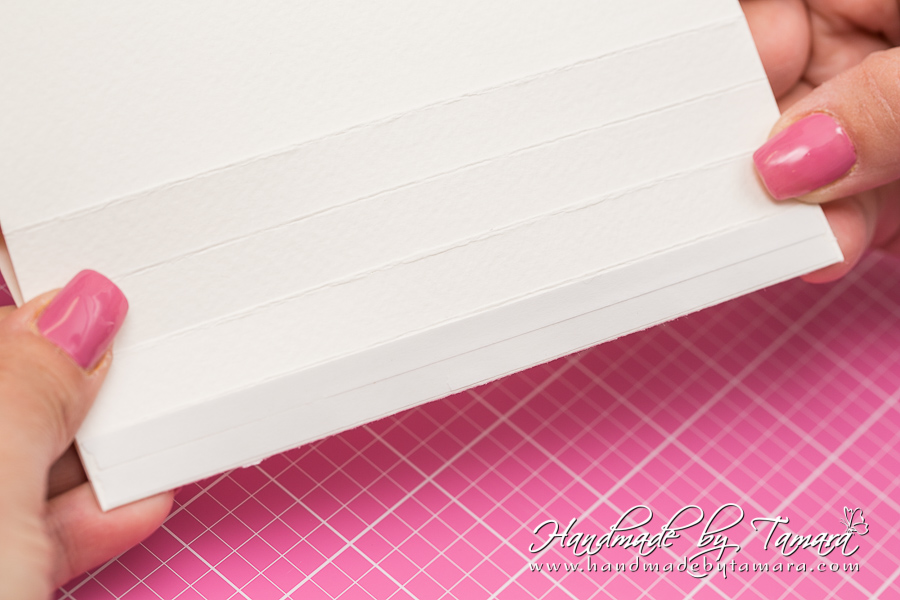
This is how it looks like when you have all the extra layers glued down. You can already feel that the cover piece is nice and thick.
Step 4:
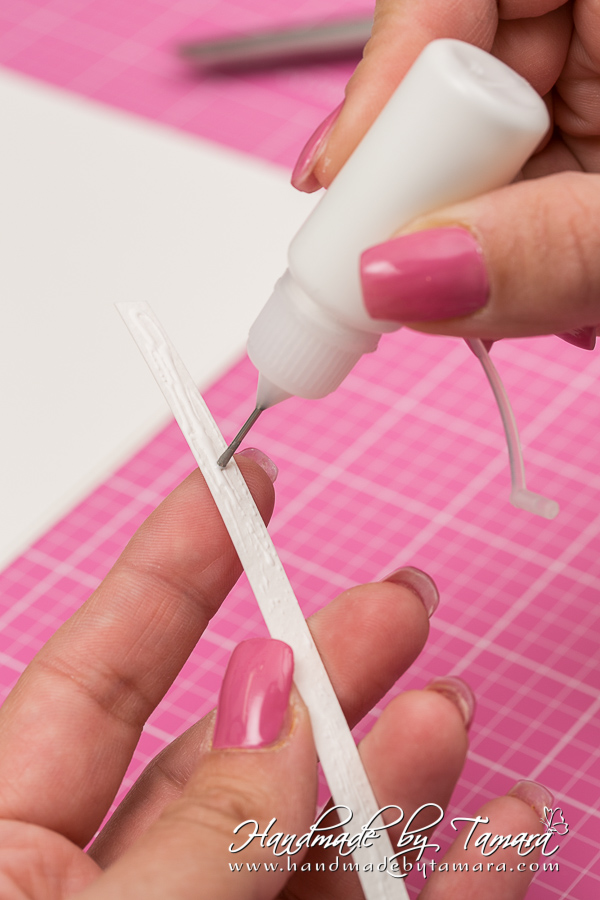
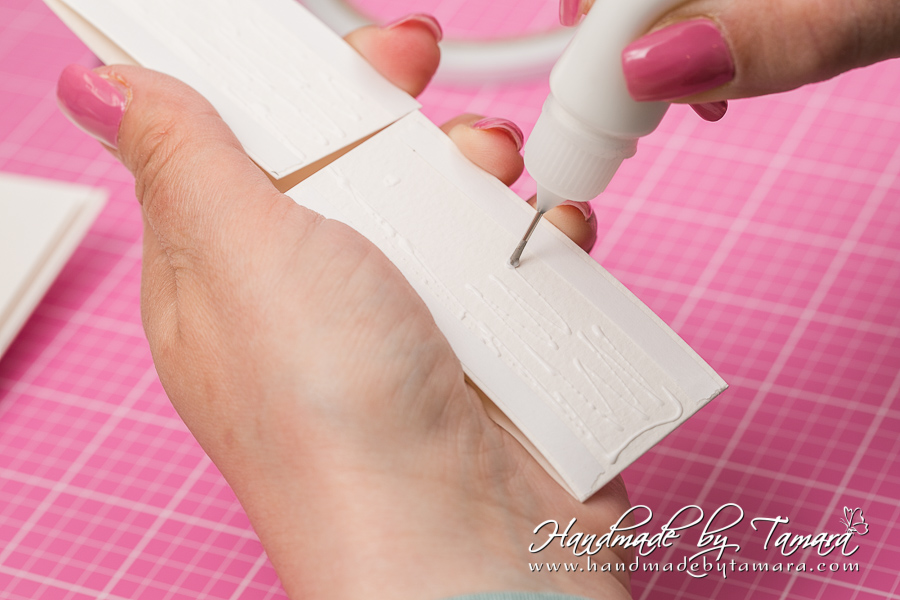
Add double sided tape to the flaps and also to the middle part.
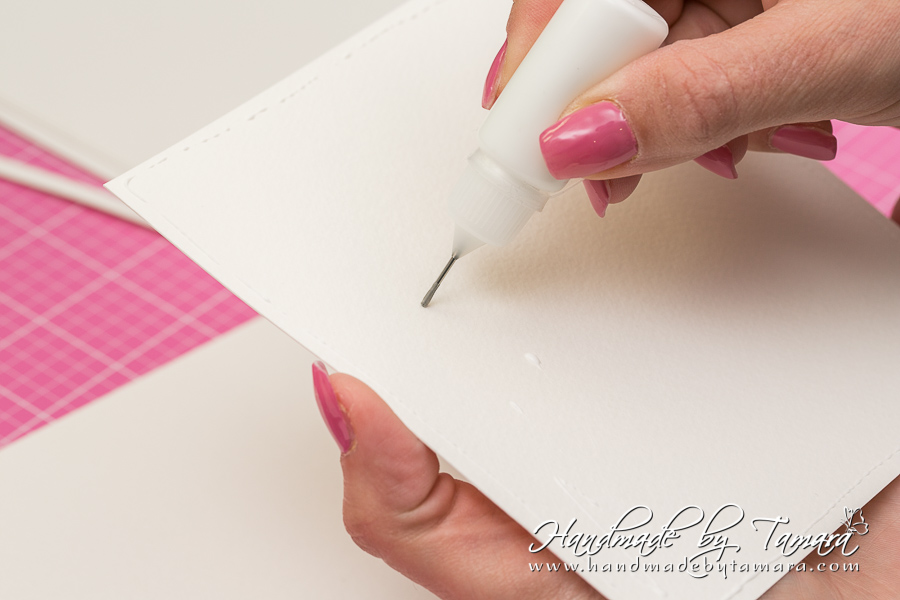
I add some liquid adhesive too.
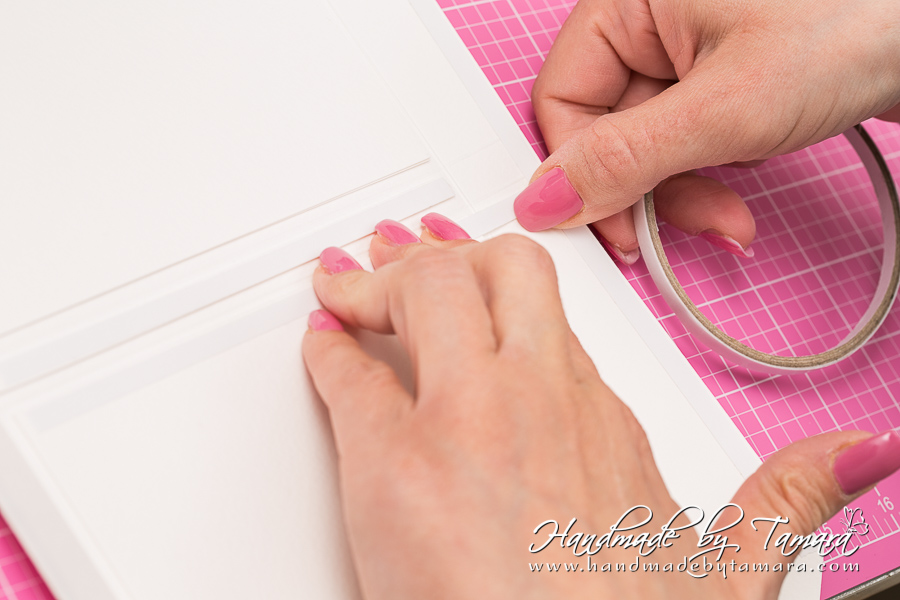
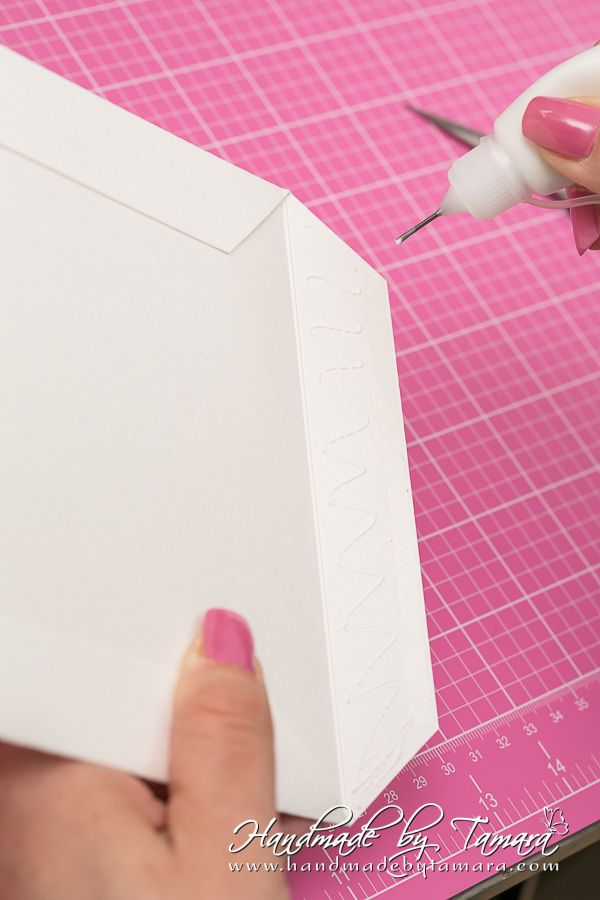
Start closing the flaps. I usually start with the longer ones.
Step 5:
Cut 12 1/8″ x 6 1/8″ white rectangle and adhere it to the inside of the cover piece. Now you have all your flaps covered. Then take a ruller and gently close the covers. I add ruller to the fold and gently close it from one side and then do the same from the other side and I get nice folds.
Your cover is now done.
Step 6:
Now start doing the inside part. First you need to cut 5 rectangles from white cardstock:
11″ x 6″
5.5″ x 6″
5″ x 6″
4.5″ x 6″
4″ x 6″
Step 7:
Take the longest rectangle (11″ x 6″) and make a score line on the middle (at 5.5″) first. Then make more score lines at 6, 6.5″, 7″ and 7.5″
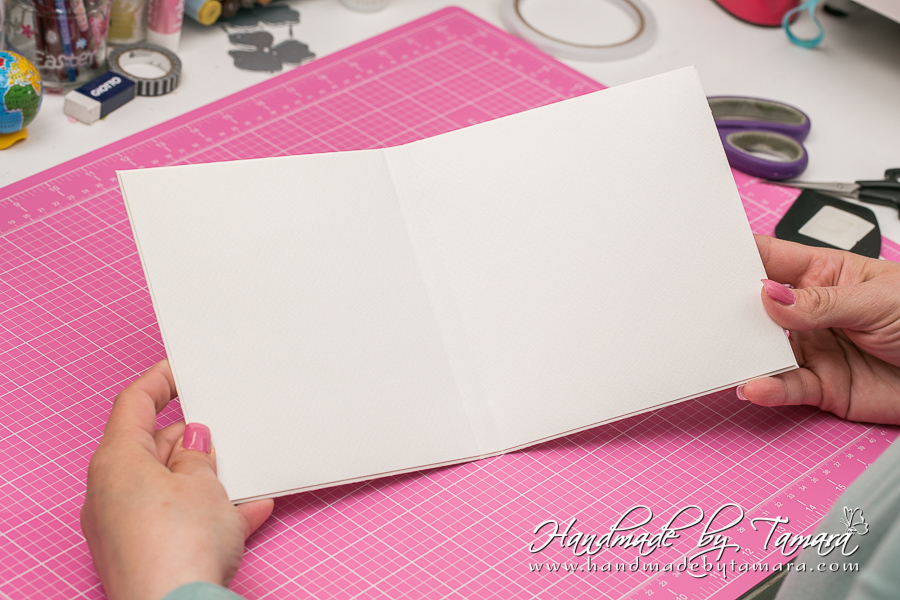
Make folds.

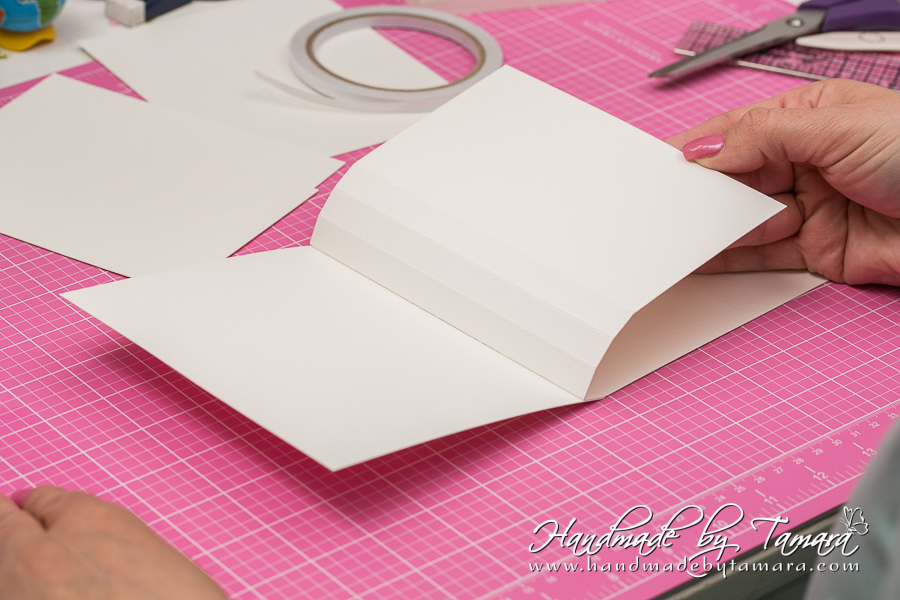
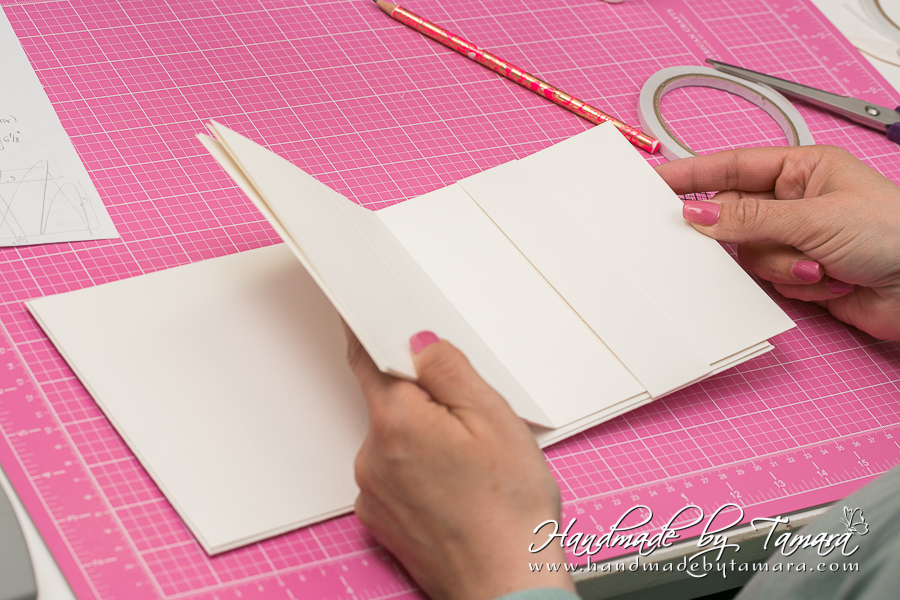
Fold at the middle and turn the piece so that the folded part is on top.
Step 8:
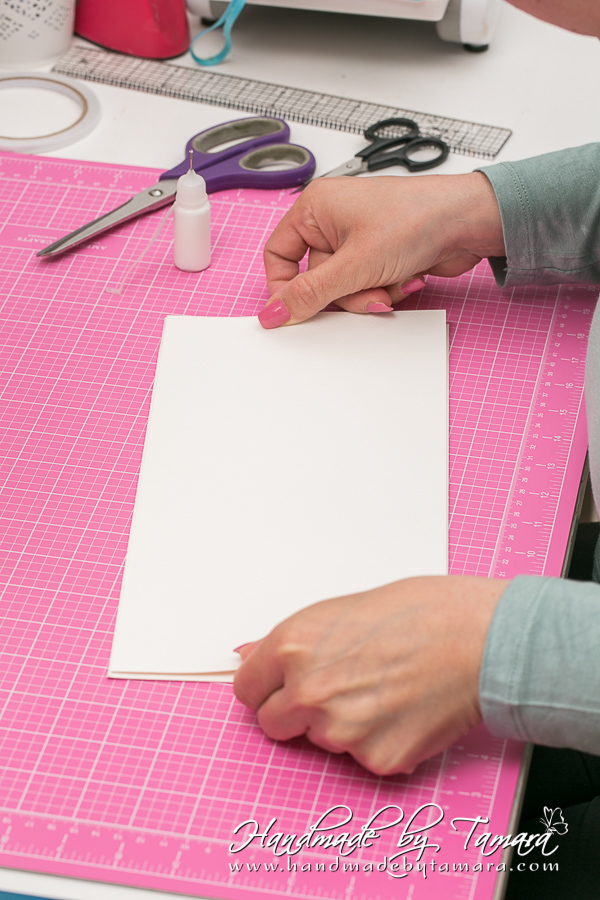
Add double sided adhesive to the first fold as on picture. Then take your white 5.5″ x 6″ piece and adhere it on top of the folded piece.
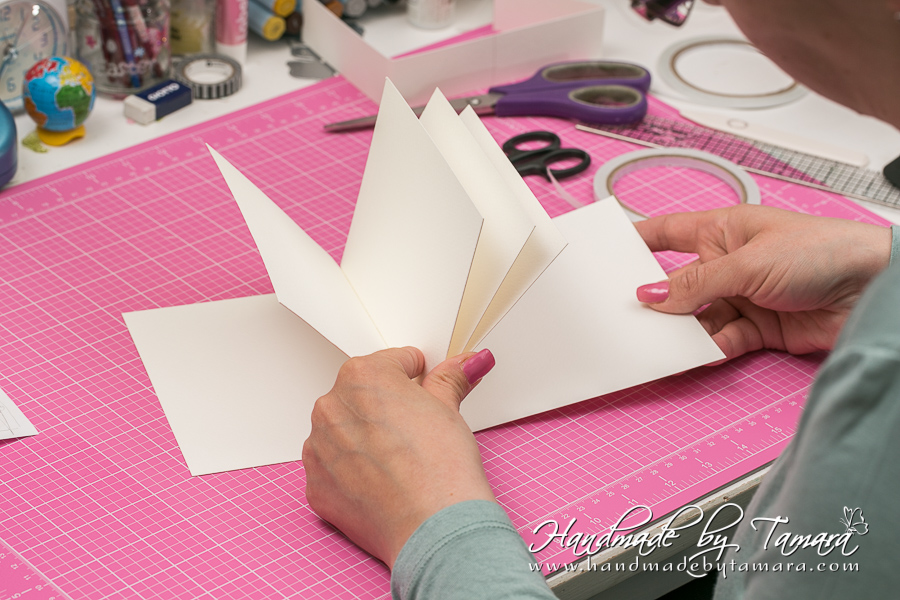
You now have your first fold covered. Do the same with the other one. Fold it first, then add double sided adhesive and adhere the 5″ x 6″ piece. Then turn the page and add 4.5″ x 6″ … until you use all the rectangles you cut before. What you have now is a small notebook where each side is 0.5″ smaller. You can adjust the pages a bit so that they are all lined up at the side.
Step 9:
Cut 12 1/4″ x 1 3/8″ long piece of paper and make score lines 3″ from both sides so that the middle part is 6 1/4″ long. Make folds. Add adhesive on the back of flaps.
Make thin marks 2 7/8″ from the right edge of the cover piece.
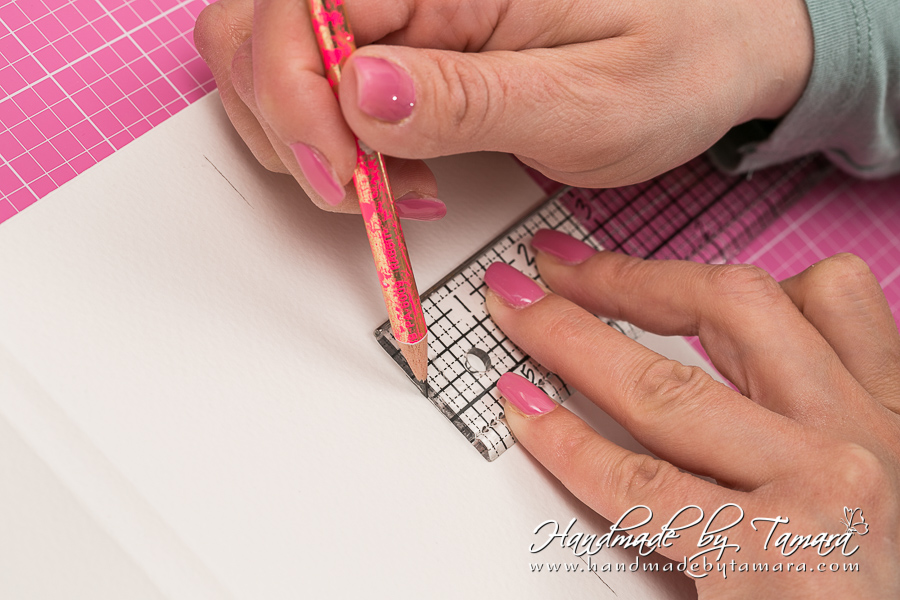
Adhere first the upper part and then all the rest.
Step 10:
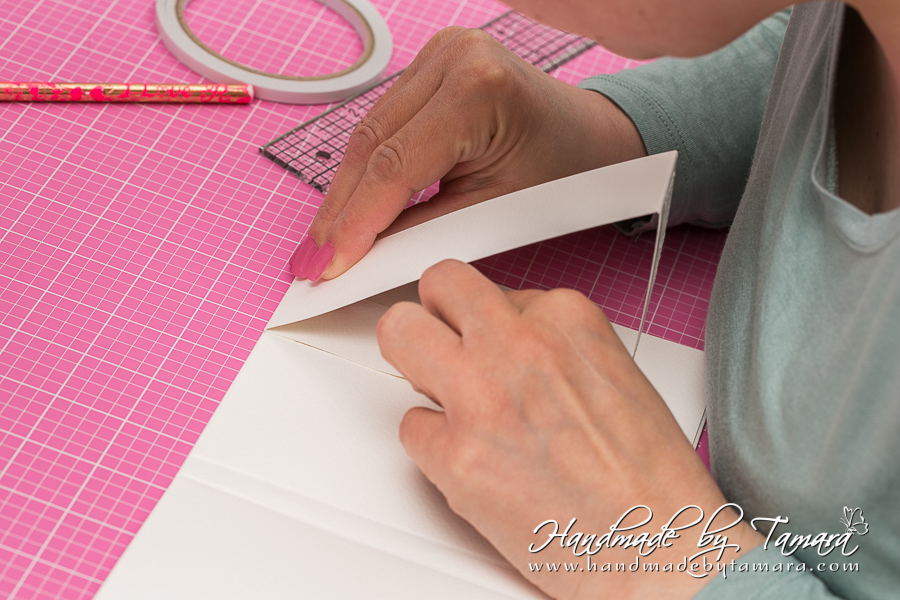
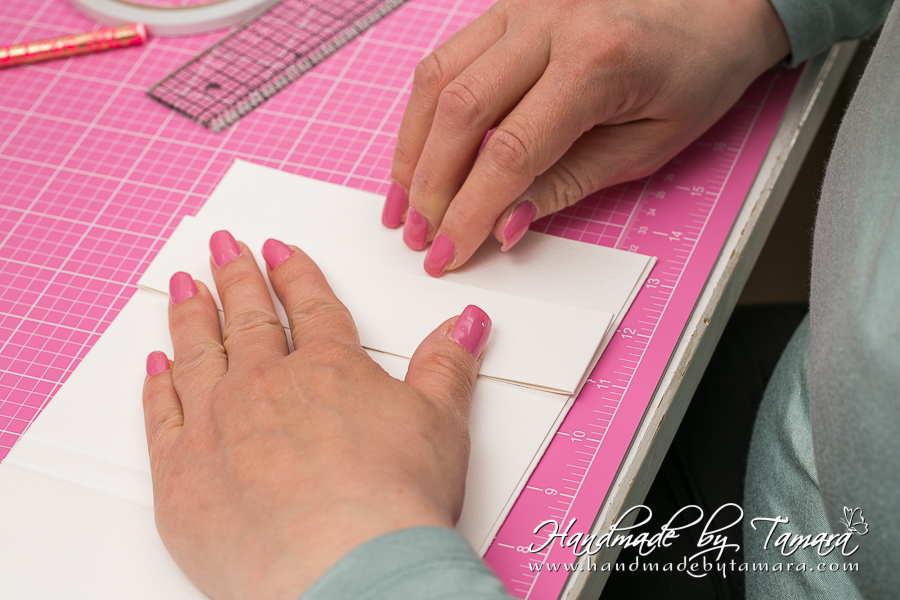
Push our album part under the piece you just adhered. If you pull it from the right you can see that something starts happening with the pages.
Add adhesive to the piece we just adhered and carefuly line up the album part with the edges of the base. When you have it in perfect position carefully close the album part so that it adhers to the base.
Now gently pull the bottom part.

Step 11:
That’s it. Your album is done. All you have to do is add some pretty papers and embellishments.
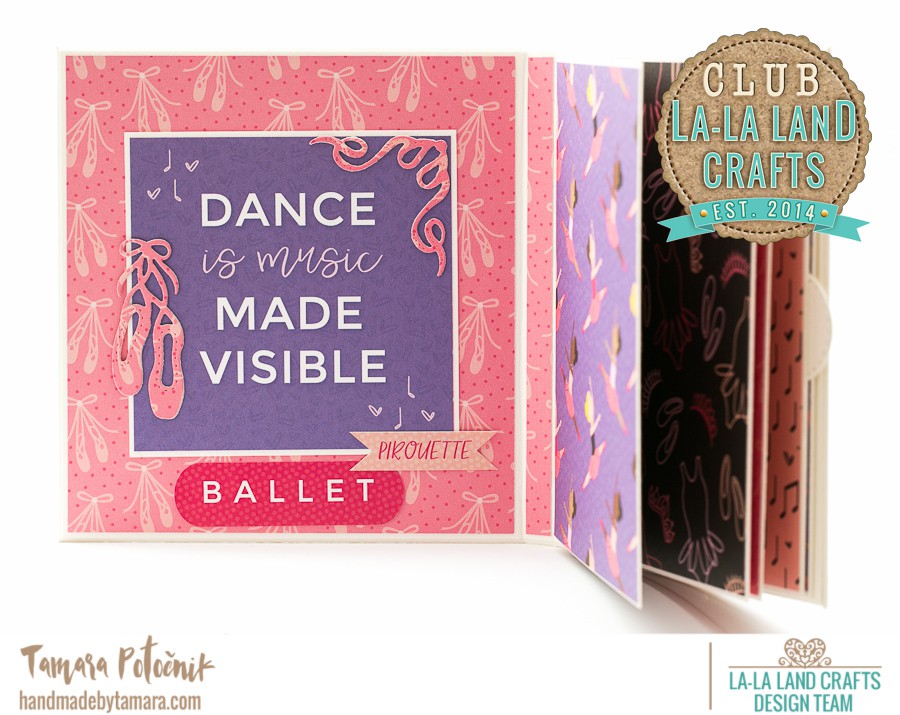
Here’s a short video how the flip part works.
I hope you like my album. If you decide to make one, please share it in our FB group.
Hugs, t.
5 komentarjev
Natasa
U super je Tamara! Hvala za navodila, se ga bom tudi jaz lotila 😀
Lep pozdrav, Nataša
Natasa
o fajn, sam veš zdele pa začni štet kolk punc te bo vprašalo za roza podlago 😉
Swedish House Crafts
lol! looks fabulous!
Debcop
Tamara! Fabulous!! As always, all of your projects are amazing! Would you please, please do a video of yourself coloring with distress Inks?? Please, please? You don’t even have to talk…I just want to see your process. 🙂 Thanks for the inspiration! Hugs, Deb
Debcop
Tamara…I want to make one of these…but, where do you get 14” cardstock??