

Cow’s it Going box TUTORIAL
Today i’m sharing with you a tutorial on how to make a cute gift box. Mine is rather small but you can adjust the measurments and make it bigger if you want.
I made quite a few of these in the past and I got a few requests for tutorial as well. Once you’ll see how it’s done you’ll see it’s the easiest thing out there. hehe …
What you need:
white cardstock
design paper
ribbon
scissors
scoring board
paper trimmer
double sided adhesive
liquid adhesive
la-la land crafts items you need:
Cow’s it going
Flower frenchie
Flower frenchie
Stitched Pennants
Spring Tree
Spring Blossoms Small
Stitched Nested Circles
Double Stitched Hills
Double Stitched Squares
Spring Tree
Spring Blossoms Small
Stitched Nested Circles
Double Stitched Hills
Double Stitched Squares
Step 1:
Take your white cardstock and cut out two rectangles:
5″ x 13.5″
9 2/8″ x 9 2/8″
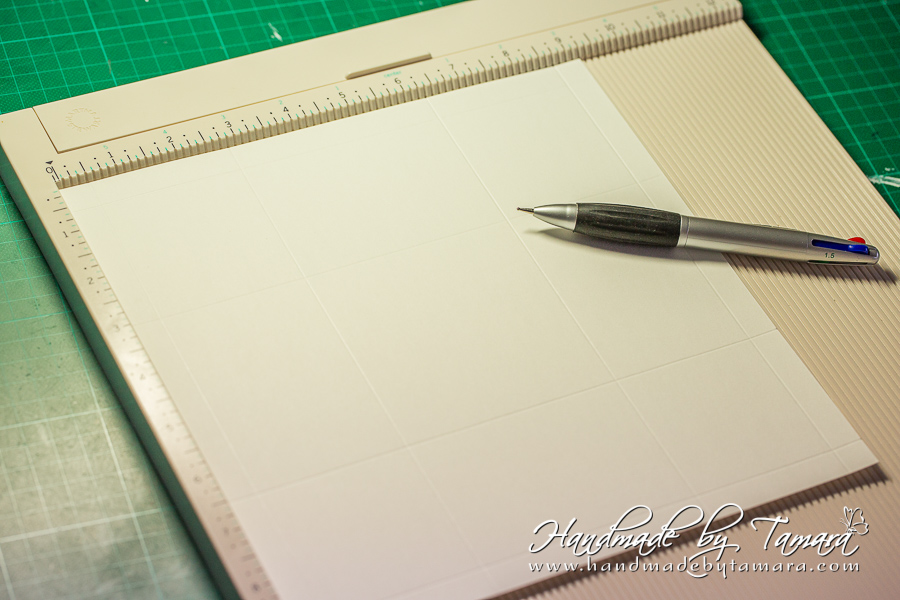
Step 2:
Take your scoring board. First take the long restangle (5″ x 13.5″) and make scoring lines at 0.5″ – 5.5″ – 8″.

Then take your square and make scores at 0.5″ and 2 7/8″ from each side.
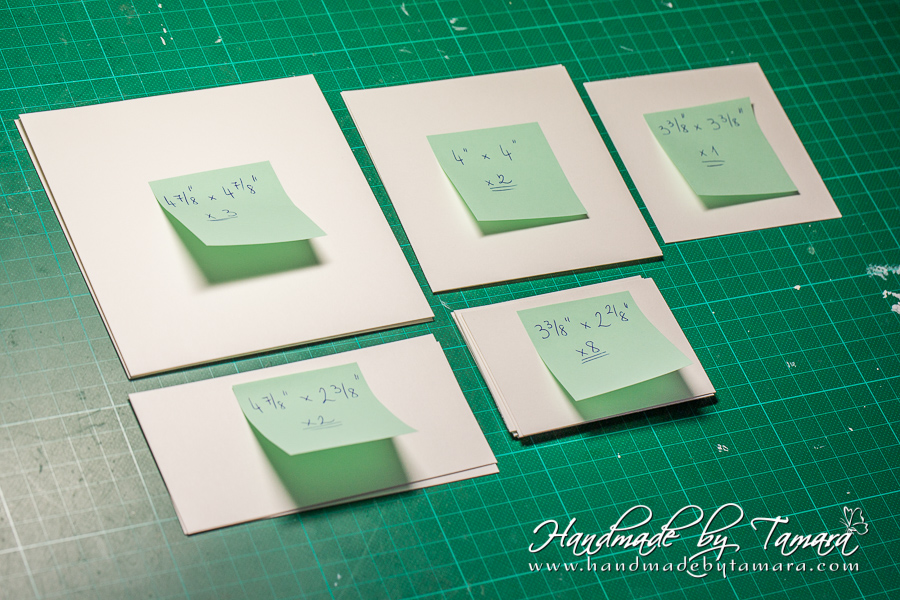
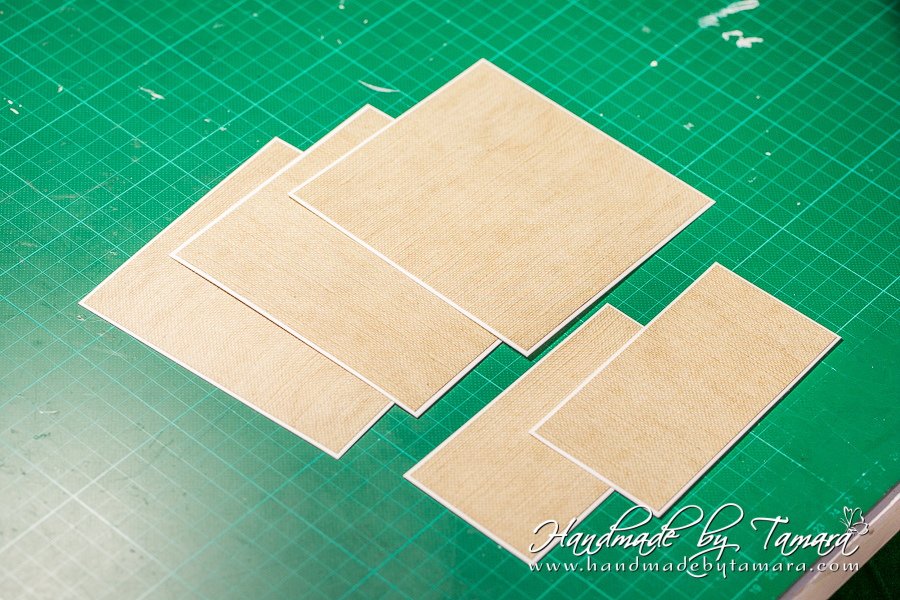
Step 3:
Take your white cardstock again and cut out:
3x 4 7/8″ x 4 7/8″
1x 4″ x 4″ (it says 2 on the pic but you only need one)
1x 3 3/8″ x 3 3/8″
2x 4 7/8″ x 2 3/8″
8x 3 3/8″ x 2 2/8
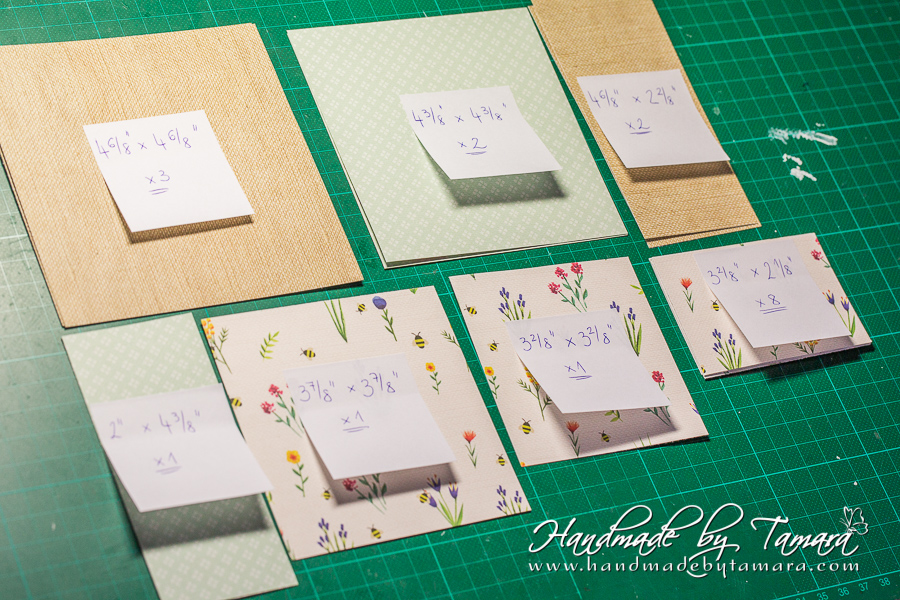
Take your design paper (I used Homegrown from Echo park) and cut:
3x 4 6/8″ x 4 6/8″
3x 4 3/8″ x 4 3/8″ (it says 2 on the pic, but you need 3)
2x 4 6/8″ x 2 2/8″
1x 2″ x 4 3/8″
1x 3 7/8″ x 3 7/8″
1x 3 2/8″ x 3 2/8″
8x 3 2/8″ x 2 1/8″
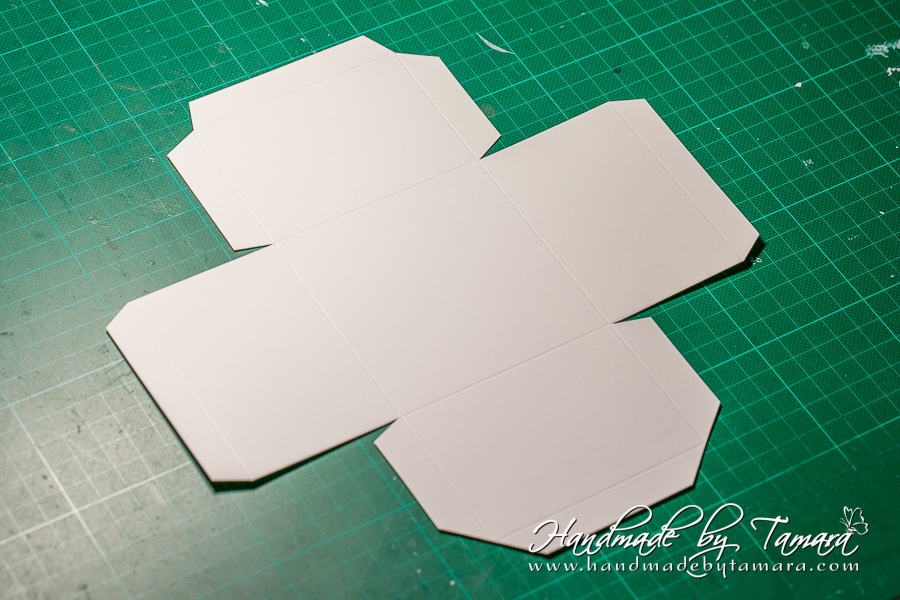
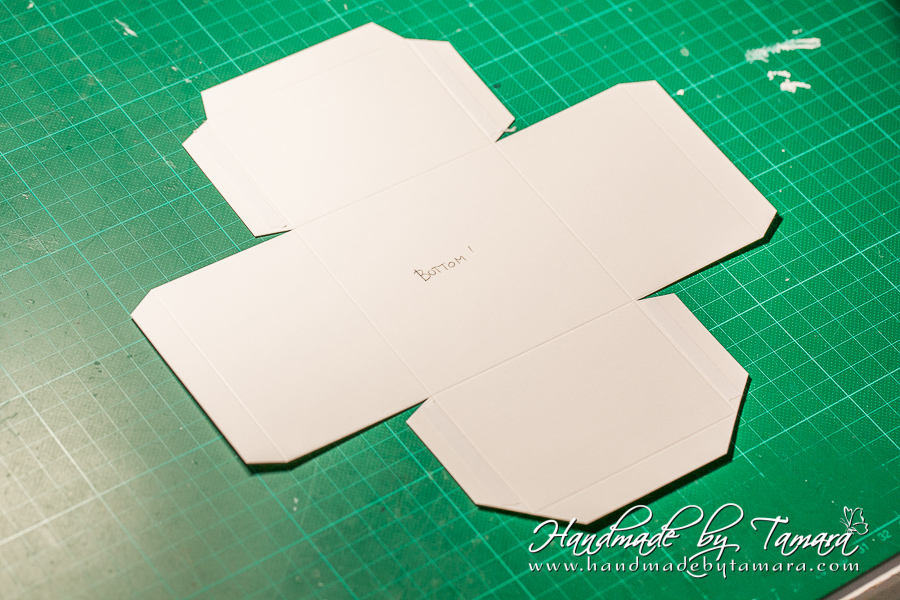
Step 4:
Take your 9 2/8″ x 9 2/8″ white square and cut as shown on the picture.
Step 5:
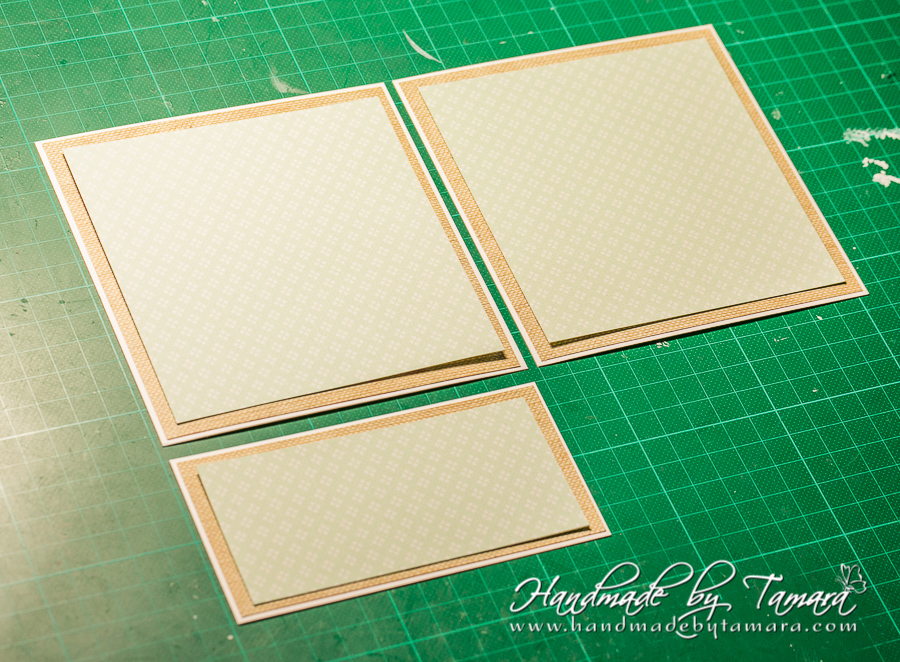
As you probably noticed there are white squares and rectangles and there are squares and rectangles that are 1/8″ smaller. Take white ones and pair them with the ones cut from design paper. Adhere them together so that they have a white border.


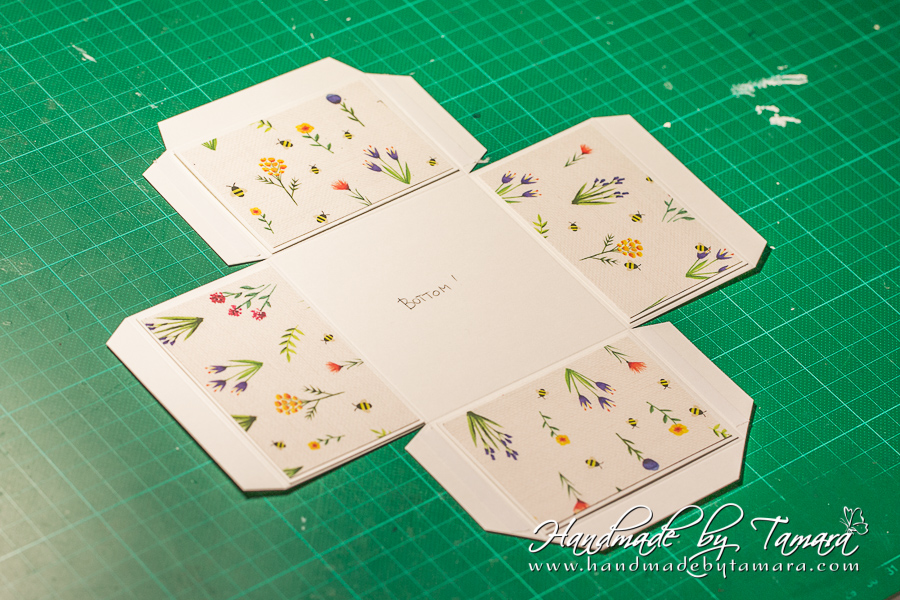
Step 6:
Choose bottom and top on your box and then start addind double sided adhesive to the flaps. Keep in mind that the upper flaps have adhesive on the inside and the side flaps on the outside (look at the picture, you can only see the adhesive on the side flaps)
Adhere the rectangles you put together in previous step (white cardstock + design paper) to the bottom part of the box as shown on the picture.
Step 7:
Make folds.
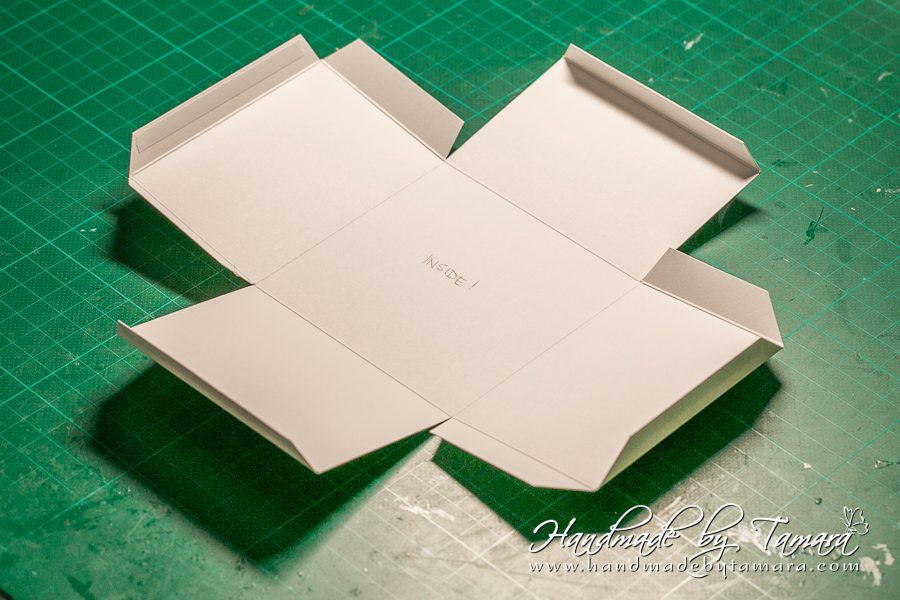
Adhere the box together. Leave the upper flaps for the end. When you have all the side flaps adhered like on the picture below, then it’s time to close the upper flaps! Don’t do it before of later!

Step 8:
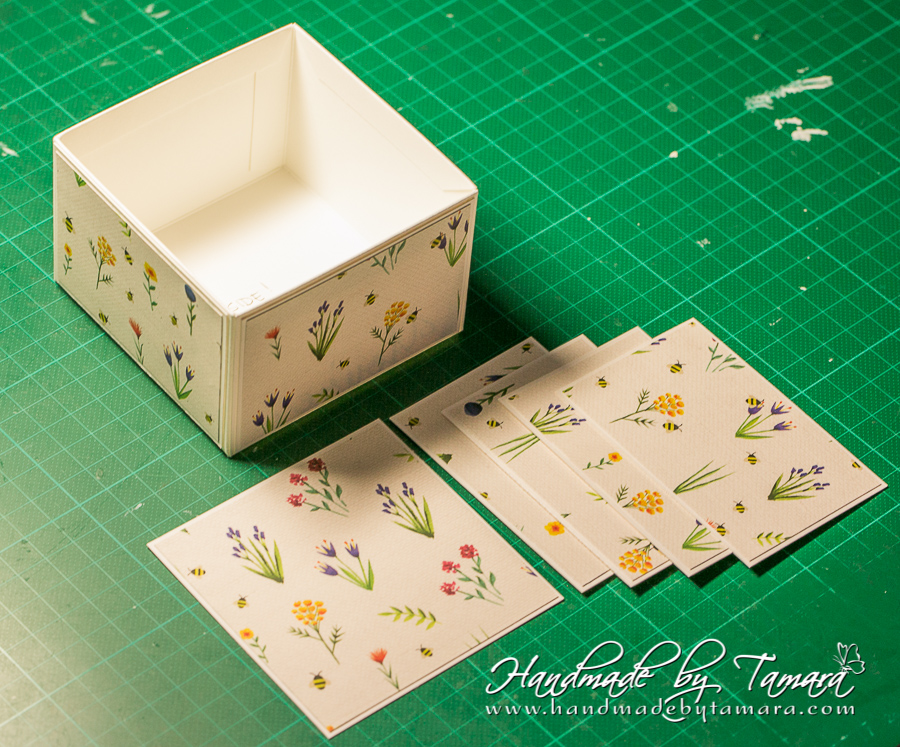
When you closed the upper flaps then it’s time to start decorating the inside. Adhere the rest of the small rectangles on the sides and then you have left one square for the bottom of the inside.
Step 9:
Adhere the (4 3/8″ x 4 3/8″) squares to the bigger ones. Do the same with the smaller one. You get 3 big ones and 1 small one.
Step 10:
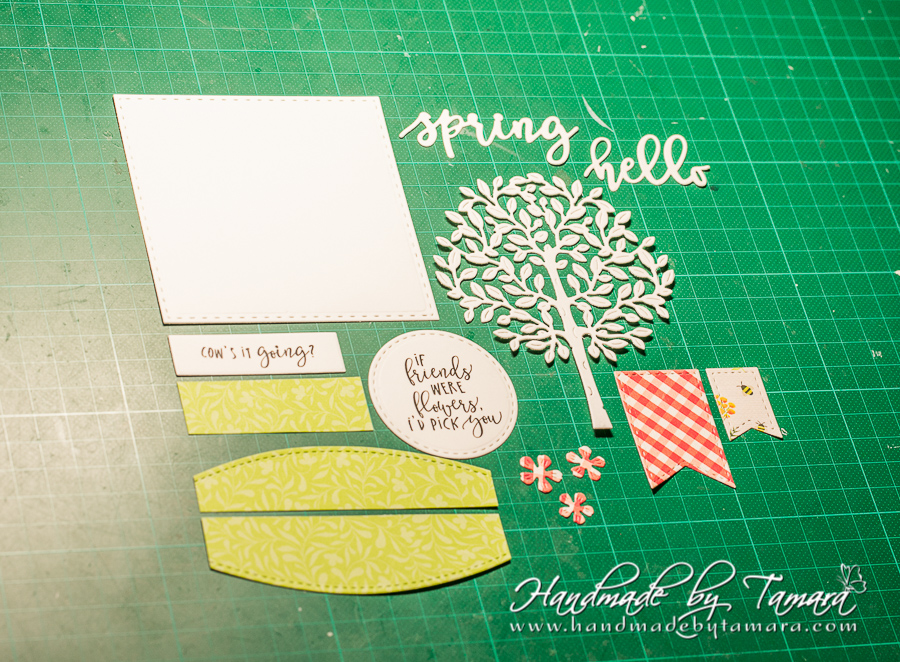
Make die cuts from white cardstock and design paper.
Step 11:
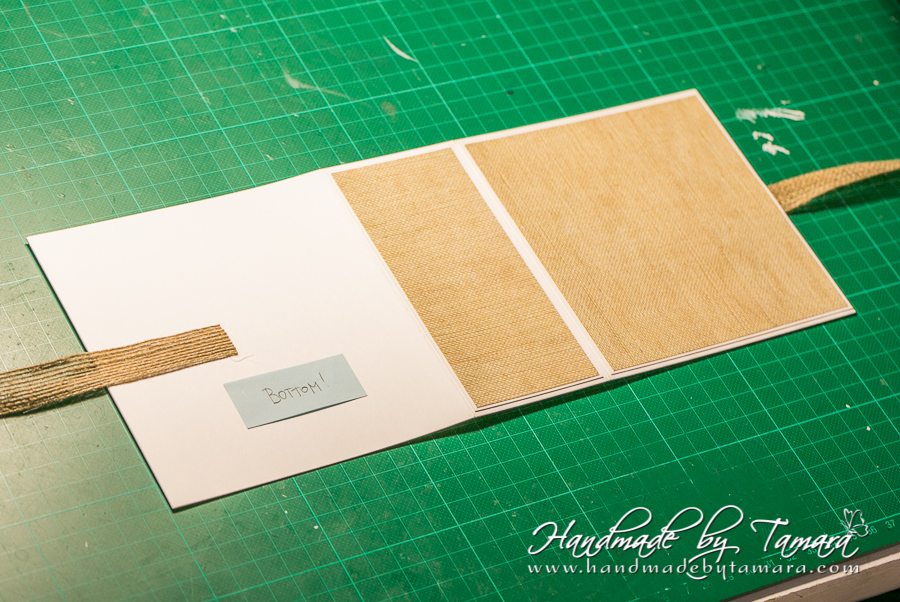
Take your long rectangle cut from white cardstock and as you can see there are two 0.5″ flaps on each side. Apply some double sided adhesive and close them both on the inside. Then turn the rectangle arround and apply some adhesine on the middle end of both sides and adhere the ribbon. As you can see on the picture, flaps are closed on one side and ribbon is on the other side of that flap.
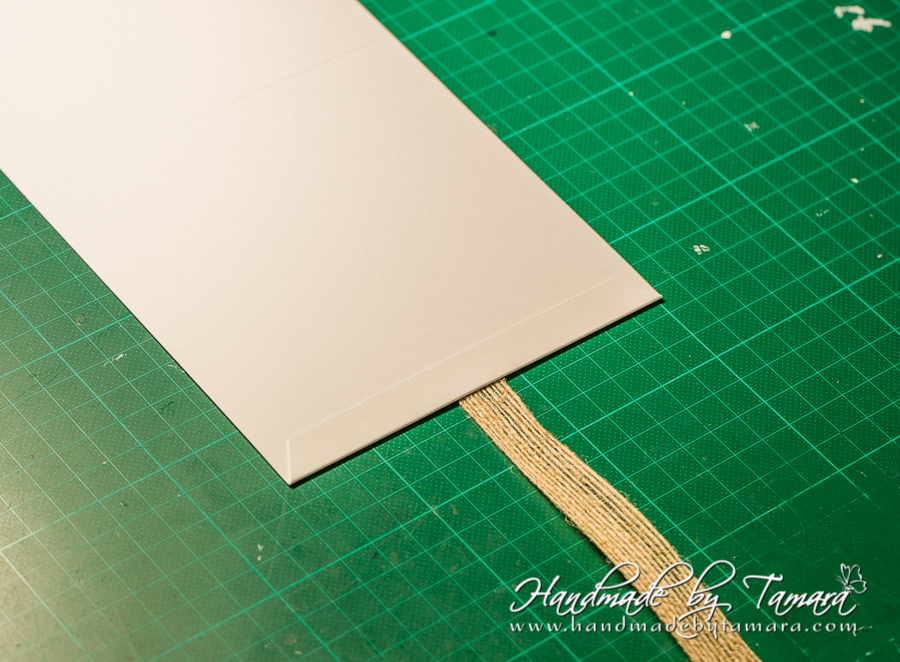
Make folds. You can now start to see the cover of the box. All we need to do now is cover it with design paper and embellish.

I marked the bottom of the box so that i don’t make a mistake when I’m adhereing the rectangles. Bottom stays white!
Adhere the smaller rectangle on top of the bigger one.
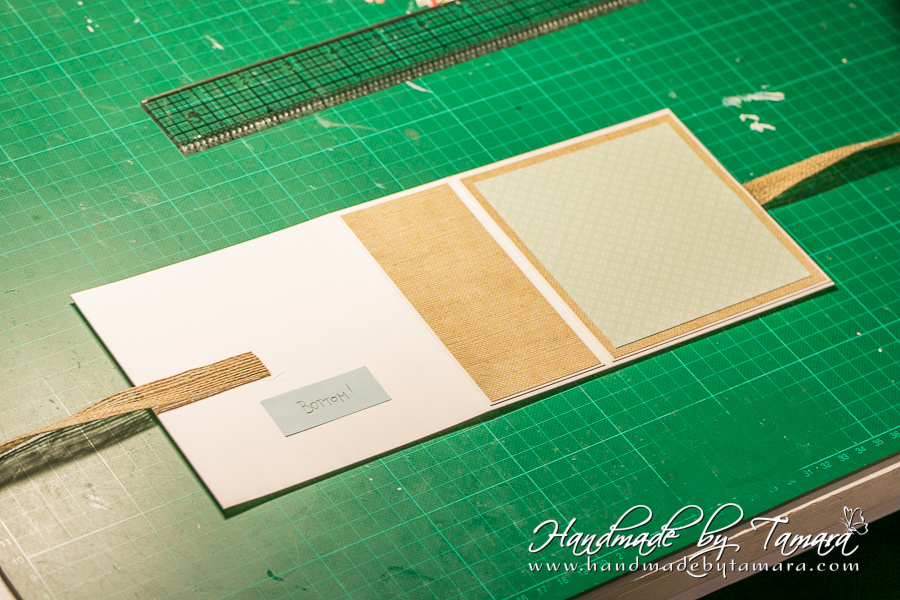
Step 12:
Cover the inside with the design paper squares and rectangles.
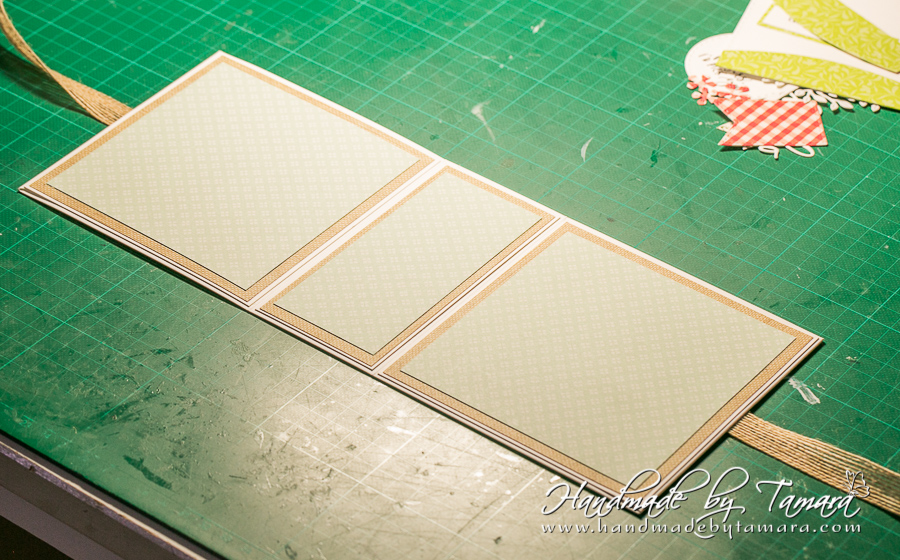
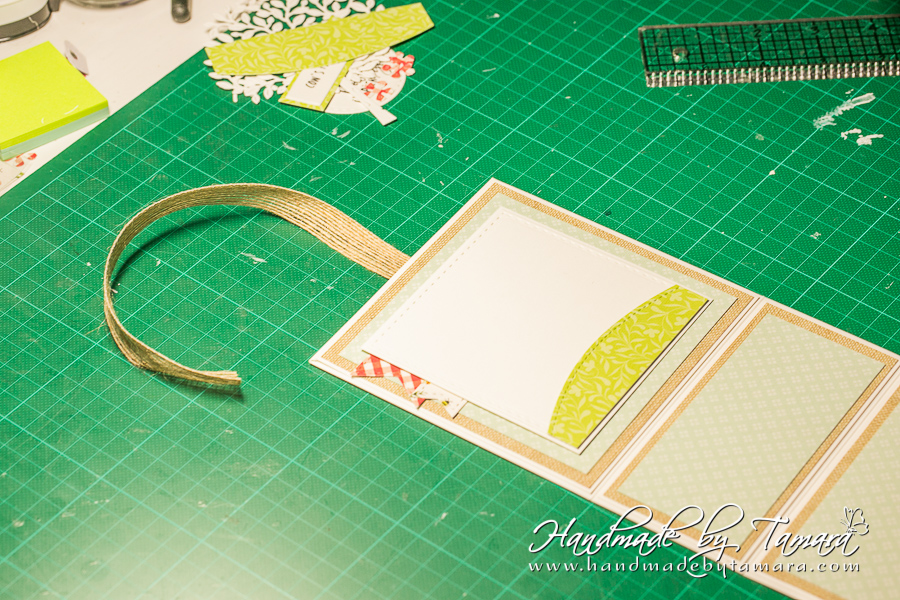
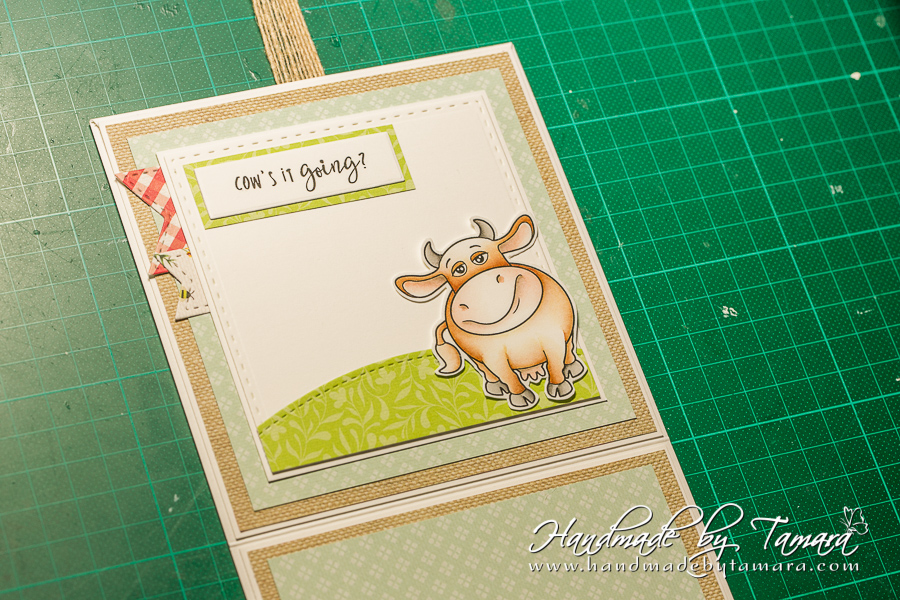
Decorate the top rectangle, so when the recipient opens the box there is a nice decorated scene waiting for him/her. I left some white so there’s enough space to write a sentiment.
Step 13:
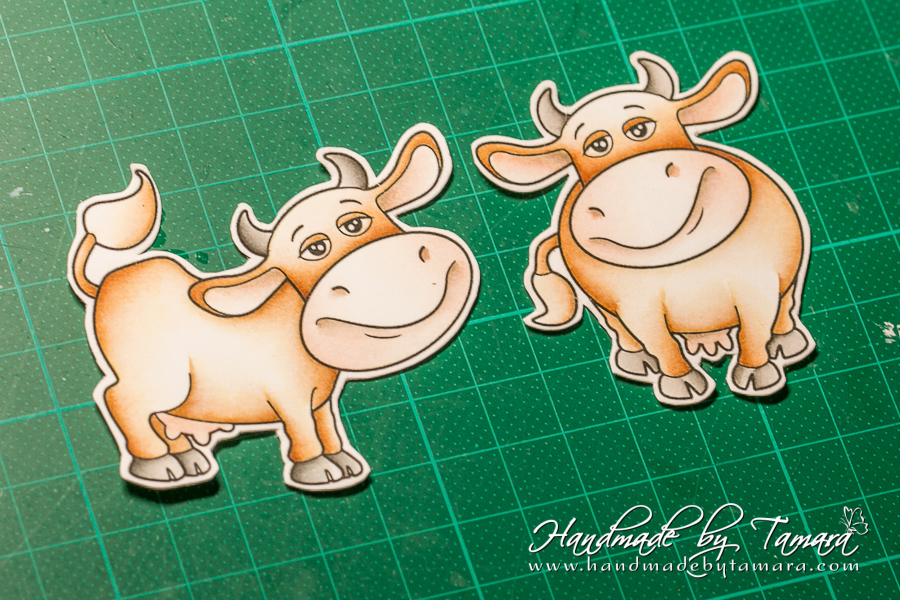
Colour the images and fussy cut them.
Step 14:
Adhere the box to the middle of the lower part. It’s easier if you use liquid adhesive here so you can move the box a bit to get the perfect middle.

Decorate the top of the box with die cuts and embellisgments.

Step 15:
Write a sentiment, add a prezzie and tie a bow with your ribbon and you’re all set!


That’s it from me today!
Have fun!
Hugs, t.
2 Comments
Maria Rodriguez.
Oh my goodness!!! this is adorable!! what a sweet box and that little cow is just the cutest.
Can I ask you where did you get the 13" card stock, the sheets only come in 12×12" I've never seen them come any bigger.
Thank you for the picture tutorial, love it.
Hugs,
Maria Rodriguez.
Tamara
Hi!
Thank you for your kind words!
I buy big sheets of cardstock, size A1 or A0. Some ladies told me that you can get them on school or children's department in craft stores. These sheets are 300g (the ones that I'm using).
Hugs, t.