

Easter tags tutorial
Hi!
This is only my second tutorial, so please have patience with me. lol
One of our Easter traditions in Slovenia is Easter egg hunt. Easter bunny (aka parents) hide presents behind trees, under the bushes ….. and little children look for them. Last year Zoi was too young so we only hid a chocolate bunny, but this year she’s old enough to hunt!
I wrapped all her presents in wrapping paper and put a small tag with name on each of them (there are also presents for her grandmother and grandfather). Pictures are awful, they were taken with my phone, but you’ll get the point.
Step 1:
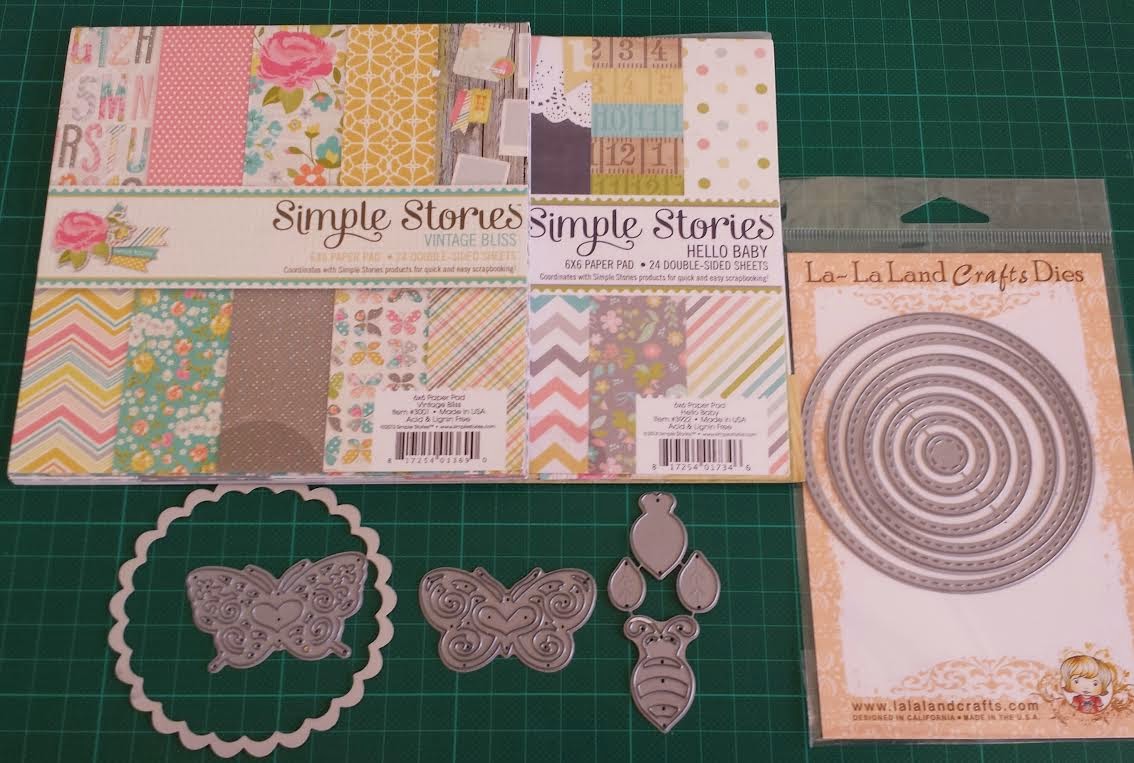
To make Easter/Spring tags you need:
design paper
white cardstock
build a bee die – la-la land
butterflies set 1 – la-la land
scalloped circles – spellbinders
stitched nested circles – la-la land
glue
eyelets
crop-a-dille
ribbon
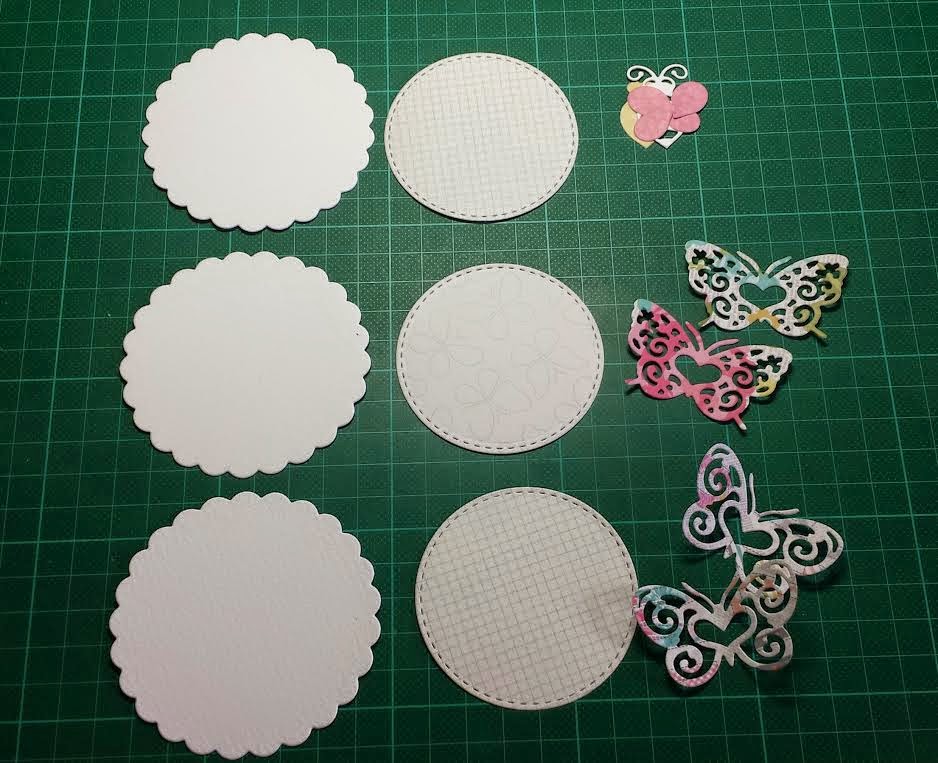
Step 2:
Cut out stitched circles (design paper) and scalloped circles (white cardstock), butterflies (2 for each tag) and a bee.
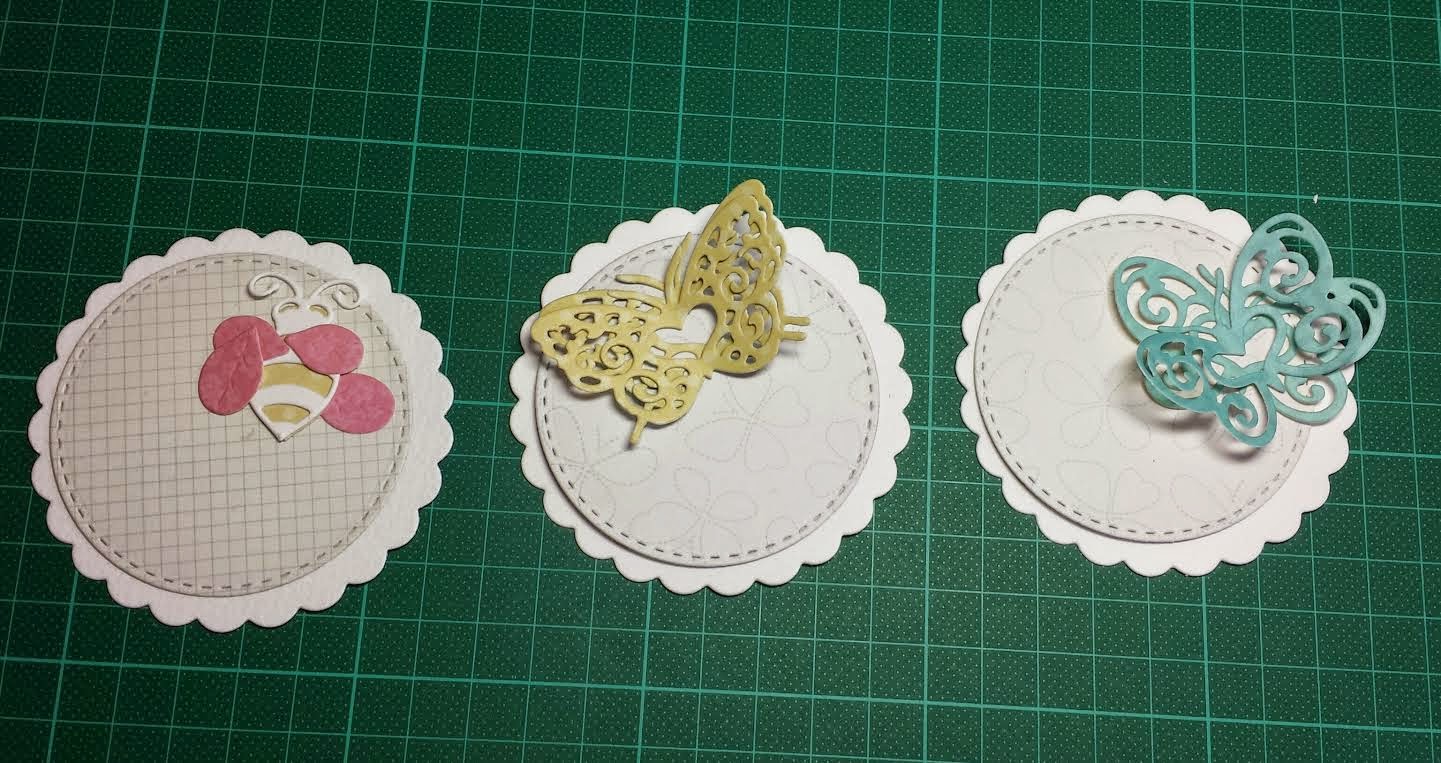
Step 3:
Use any kind of glue (I used crackle accent) and glue stitched circles on top of scalloped circles.

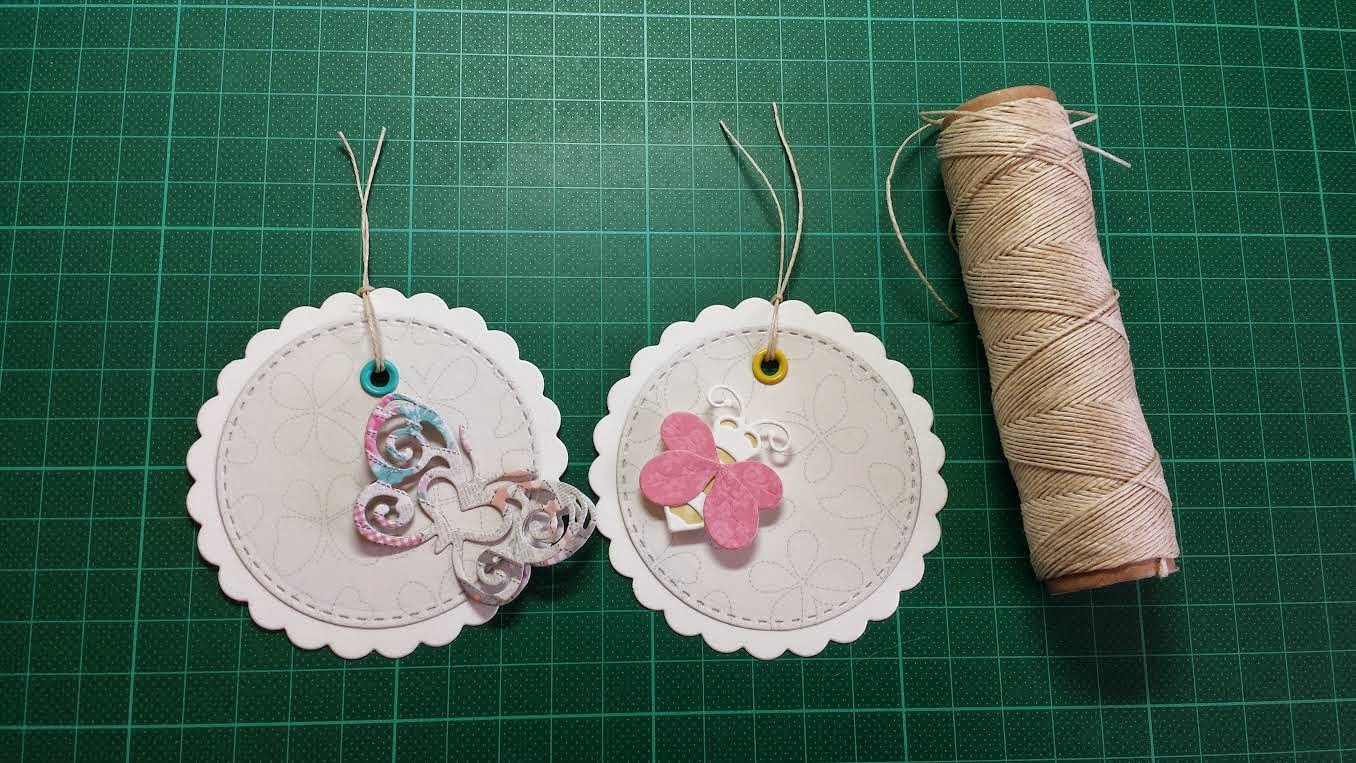
Step 4:
Take crop-a-dile and make a hole for ribbon. Use eyelet.


Step 5:
Glue together 2 butterflies (one on top of the other) and build and glue together a bee.

Step 6:
Use ribbon/string and put it through the eyelet.
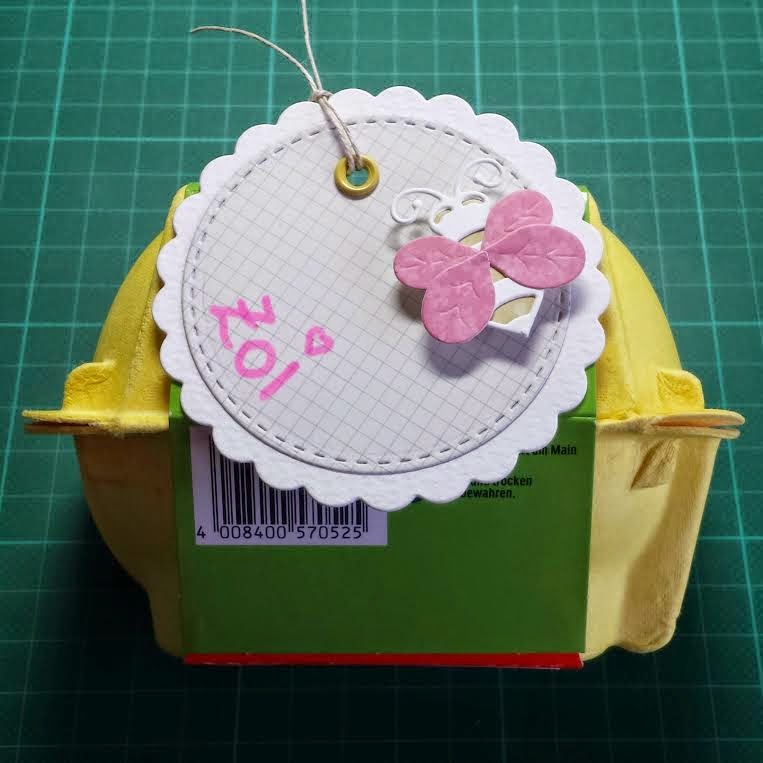
Step 7:
Write the name of the recipient on the tag and glue it on the present. There are two Kinder surprise eggs hidden in this egg box and I’m sure Zoi will be very happy when she’ll find them.
I hope you like my simple Easter tags. They are really simple but fun!
Happy Easter everybody!
Hugs, t.
4 Comments
Ashlee McGregor
What a great little idea.. These tags are so sweet, and yes im sure zoi will love the kinder suprises. Happy easter to you and your family xx
Céline
oh wow so fab idea! so cute tags!
Sure Zoi, will love to find them.
happy easter
hugs
céline
Mojca
Oooo kako lepo presenečenje za tvojo Zoi, sigurno ji bo všeč! ♥ lepe praznike vam želim! lp
Mojeveselje
Luštni tagci. Ja, moraš velikonočnemu zajčku pomagat označit darilca, da se ne bi zmotil, :).